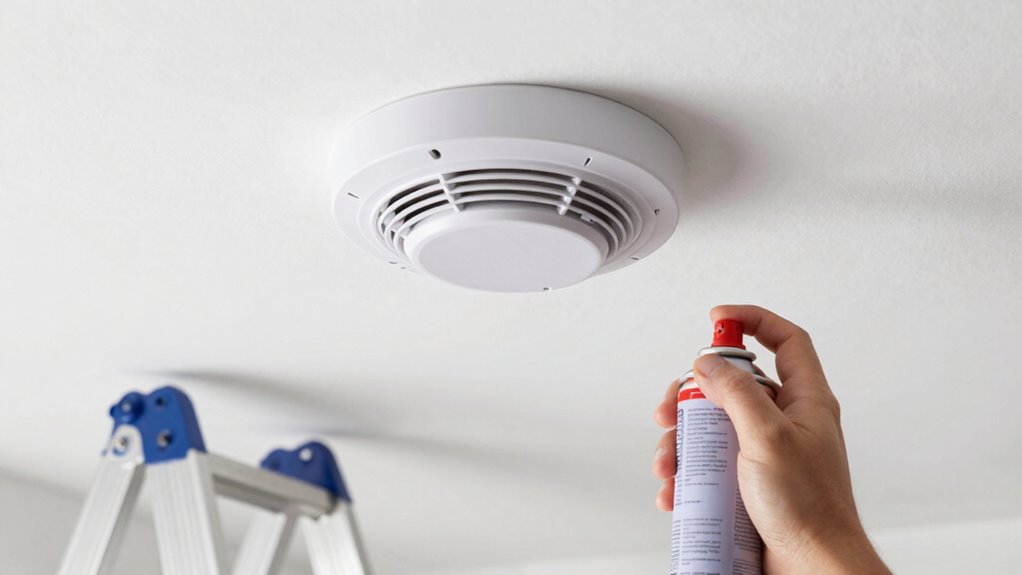
To guarantee your smart smoke and CO detectors work effectively, place them on every level of your home, especially outside bedrooms and kitchens. Mount them on ceilings or high on walls, keeping at least 10-12 inches from ceilings or walls, and away from vents, fans, or drafts. Avoid obstructions like furniture or curtains that can block airflow. Proper placement boosts reliability and safety—keep exploring for detailed tips to maximize your detectors’ performance.
Key Takeaways
- Install detectors on every level, especially outside bedrooms and kitchens, following manufacturer placement guidelines for optimal performance.
- Mount smoke detectors on ceilings or high on walls, 4-12 inches below the ceiling, avoiding obstructions.
- Keep detectors at least 10 feet from cooking appliances, vents, and high-humidity areas to prevent false alarms.
- Regularly check for and clear obstructions like furniture or curtains that could block airflow to sensors.
- Test and clean detectors periodically to ensure sensitivity and reliable hazard detection.

ECENCE Magnetic Smoke Detector Installation Tool 2pcs Magnetic Adhesive Pads with 3M Glue for Smoke Alarms Ø 70mm, No Drilling Or Screws, Quick and Easy Fastening
MOUNT WITHOUT DRILLING: These smoke alarm magnets replace the complicated mounting of smoke detectors and fire alarms. No…
As an affiliate, we earn on qualifying purchases.
As an affiliate, we earn on qualifying purchases.
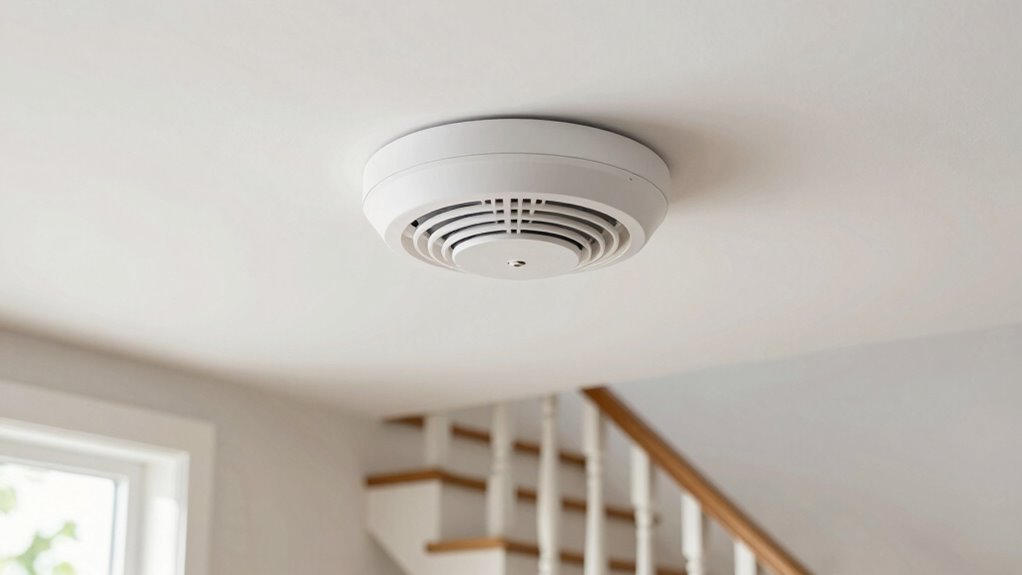
Why Placement Matters for Smart Smoke and CO Detectors
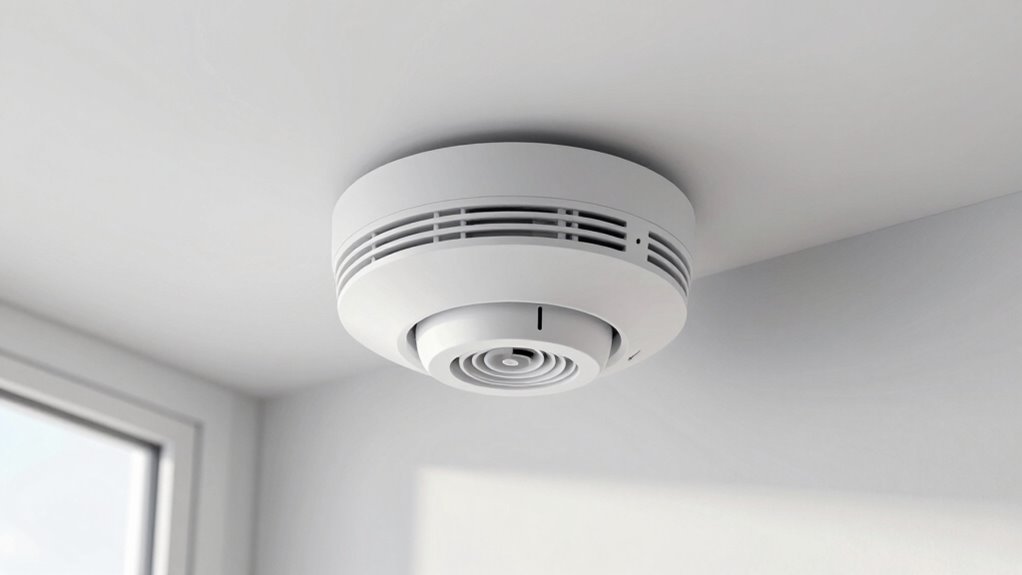
Proper placement of your smart smoke and CO detectors is essential to guarantee they provide early warnings and keep your home safe. When positioning them correctly, you ensure sensors are effective, which means regular sensor calibration becomes more trustworthy. Additionally, placing detectors in ideal spots makes battery maintenance easier, preventing false alarms and ensuring continuous operation. If detectors are poorly placed, dust or humidity may interfere with sensor accuracy, reducing their ability to alert you promptly. Remember, correct placement supports proper sensor calibration, so your devices stay sensitive enough to detect smoke or carbon monoxide early. Understanding sensor placement helps optimize detection and reliability. Ensuring proper sensor positioning also minimizes interference from environmental factors like dust or humidity, maintaining their effectiveness over time. Proper placement also considers ventilation considerations, which can significantly impact sensor performance. Adjusting detector placement to avoid airflow disturbances can prevent false readings and improve safety. Proper placement can also facilitate easier routine maintenance, making sure your detectors stay functional. Keeping detectors in the right locations also makes routine battery checks more straightforward, maintaining their readiness and your peace of mind. Proper placement truly enhances your safety system’s performance.

meioro Magnetic Smoke Detector Installation Tool,Quick and Easy Fastening Ceiling Mounted Kit for Smoke Alarm Ø 70mm,No Need Drill 10 Seconds Install Smoke Sensors(3 pcs)
☛HUMANIZED DESIGN:This smoke detector install tool is a wonderful design,no drill,no tool needed,no mess,no fuss,no holes in your…
As an affiliate, we earn on qualifying purchases.
As an affiliate, we earn on qualifying purchases.
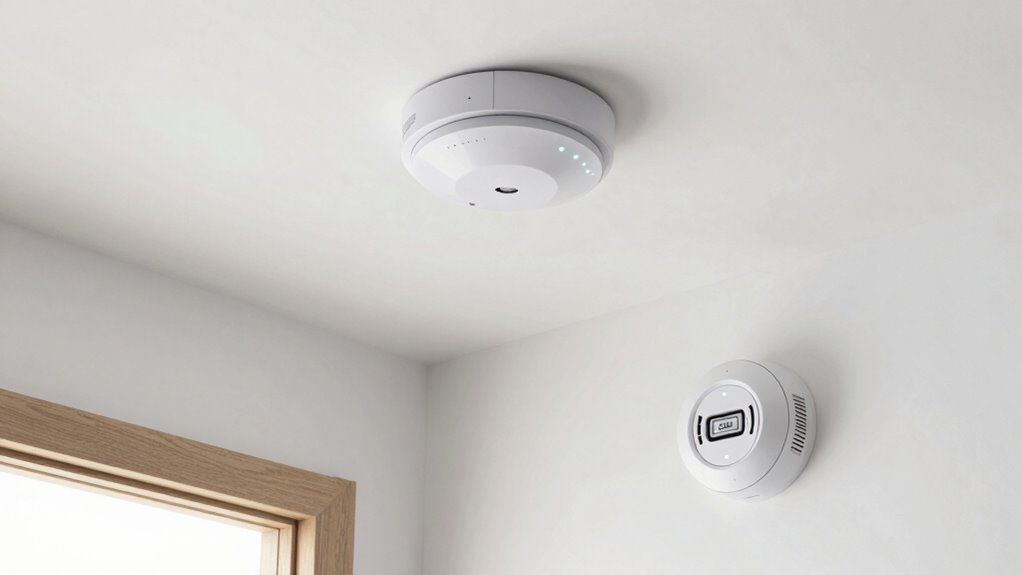
Where to Install Smoke and CO Detectors for Maximum Safety
Knowing where to install your smoke and CO detectors is key to maximizing their safety benefits. Proper placement enhances fire safety and assures alarm reliability when it matters most. Install smoke detectors on every level of your home, especially outside sleeping areas and in the kitchen, but avoid placing them directly above stoves to prevent false alarms. For CO detectors, position them on each sleeping level and near bedrooms, avoiding drafts and high-humidity areas like bathrooms. Keep detectors at least 10 feet from cooking appliances to prevent nuisance alarms. Mount detectors on the ceiling or high on the wall, following manufacturer instructions. Correct placement guarantees quick detection of smoke and CO, giving you crucial seconds to respond and protecting your loved ones effectively. Additionally, research shows security system effectiveness can influence overall home safety, emphasizing the importance of strategic detector placement. Proper detector maintenance also ensures reliable operation over time, reducing the risk of malfunction when safety is critical. Regular testing and replacing batteries as recommended by the manufacturer further enhance their detection accuracy, ensuring optimal performance when it’s needed most. Maintaining clear air flow around detectors helps them function properly and detect hazards promptly. Ensuring proper ventilation around detectors can also improve their responsiveness and reduce false alarms.

X-Sense Smoke Detector Carbon Monoxide Detector Combo, SC07, 5-Pack
2-in-1 Protection: Combines smoke and carbon monoxide detection in one compact device for 24/7 home safety; tested and…
As an affiliate, we earn on qualifying purchases.
As an affiliate, we earn on qualifying purchases.
Common Placement Mistakes That Reduce Effectiveness

Installing your detectors at the wrong height can prevent them from sensing smoke and CO effectively. Make sure you don’t place them too high or too low, as this reduces their responsiveness. Also, avoid mounting detectors where furniture or curtains block airflow, which can compromise their accuracy. Proper placement enhances sensor performance, ensuring early detection of hazards. Additionally, understanding airflow patterns in your home helps optimize detector placement for maximum safety. Being aware of ventilation and airflow helps ensure your detectors are positioned where they can most effectively monitor the air. Recognizing home environment factors can further improve their effectiveness, making sure hazards are detected promptly. Understanding air circulation within your living space allows for strategic positioning that enhances overall safety.
Incorrect Height Placement
Placing smoke and CO detectors at the wrong height can substantially reduce their ability to detect danger early. The key is understanding where to position them for ideal performance. Detectors placed too high on the ceiling or too low on the wall won’t sense smoke or CO promptly. For instance, placing a detector on the wall about 4-12 inches below the ceiling can improve detection. Here’s a quick comparison:
| Location | Recommended Height | Placement Tip |
|---|---|---|
| Ceiling | 4-12 inches below the ceiling | Use ceiling if code permits |
| Wall | 4-12 inches below the ceiling | Avoid placing too low on wall |
| High ceiling | Near the center, but not at the apex | Use extended mounting brackets |
| Low ceiling | Close to the center, away from vents or windows | Keep away from vents or windows |
Proper placement height ensures early detection and safety. Additionally, understanding the thermal behavior of smoke and gas can help optimize detector placement for better safety. Recognizing how smoke rises can further improve positioning decisions to ensure quicker alerts.
Ignoring Obstructions
Ignoring obstructions like furniture, curtains, or decorations can considerably diminish a smoke or CO detector’s ability to sense danger promptly. Obstruction interference occurs when objects block airflow or smoke and CO from reaching the sensor. This creates placement challenges, as placing detectors near cluttered areas can reduce their effectiveness. To guarantee peak performance, keep detectors clear of furniture, drapes, or decorative items that may hinder airflow. Proper placement means installing detectors where they’re unobstructed and have a clear path for smoke or CO to reach the sensing chamber quickly. Additionally, understanding detector sensitivity can help you choose optimal locations that minimize interference. Recognizing airflow dynamics can also improve placement decisions and ensure unobstructed detection. Overlooking these obstructions can delay alarm activation, risking safety. Always evaluate your space for potential placement challenges and maintain a safe distance from objects that could interfere with detector operation. Placement guidelines are essential for ensuring your detectors function optimally.

First Alert Combination Smoke & Carbon Monoxide Alarm, Battery Operated Detector with Test & Silence Button, SMICO100, 1-Pack
First Alert's Precision Detection advanced sensing technology complies with new industry standards to reduce cooking nuisance alarms and…
As an affiliate, we earn on qualifying purchases.
As an affiliate, we earn on qualifying purchases.
Best Placement Strategies for Different Rooms and Settings

Proper placement of your smoke and CO detectors varies by room, so understanding the best spots can save lives. In bedrooms, detectors should be installed near sleeping areas but not too close to windows or vents. For living rooms and kitchens, position detectors on the ceiling away from appliances and air vents for the most reliable alerts. Additionally, ensuring detectors are placed in safe locations can help maintain optimal airflow and detection effectiveness. Correct placement also considers detector sensitivity to ensure quick response times in case of emergencies. Proper placement also takes into account interference sources, which can affect the detector’s ability to accurately sense smoke or carbon monoxide. To maximize safety, regularly reviewing placement guidelines recommended by safety experts can help ensure your detectors are optimally positioned. Being aware of home layout can further assist in strategic detector placement for comprehensive coverage.
Optimal Placement in Bedrooms
To guarantee your smart smoke and CO detectors provide the earliest warning in bedrooms, careful placement is essential. Position detectors on the ceiling or high on the wall, away from vents or windows that could affect accuracy. Since proper bedroom ventilation influences detector performance, avoid installing them near airflow sources that might delay alerts. Place detectors at least 10 feet away from bathrooms and kitchens to prevent false alarms from steam or cooking fumes. For sleep safety, ensure detectors are within easy reach for testing and maintenance but not directly above the bed, as this can reduce sensitivity. Proper placement ensures early detection without false alarms, giving you peace of mind during sleep. Remember, strategic placement directly impacts your safety and the effectiveness of your smart detectors.
Living Room and Kitchen Tips
Since living rooms and kitchens have different risks and layouts, placing your smart smoke and CO detectors strategically is essential for maximum safety. In living rooms, focus on areas away from decorator aesthetics, such as behind furniture or decorative features, to prevent false alarms. Keep detectors at least four inches away from low ceilings to ensure proper airflow and detection. In kitchens, install detectors at least 10 feet from cooking appliances to avoid nuisance alarms caused by normal cooking fumes. Avoid placing detectors directly above stoves or ovens, which can interfere with accurate sensing. For rooms with low ceilings, mount detectors on the ceiling or high on the wall, ensuring they are visible but unobtrusive. Proper placement helps you stay safe without compromising your room’s decor.
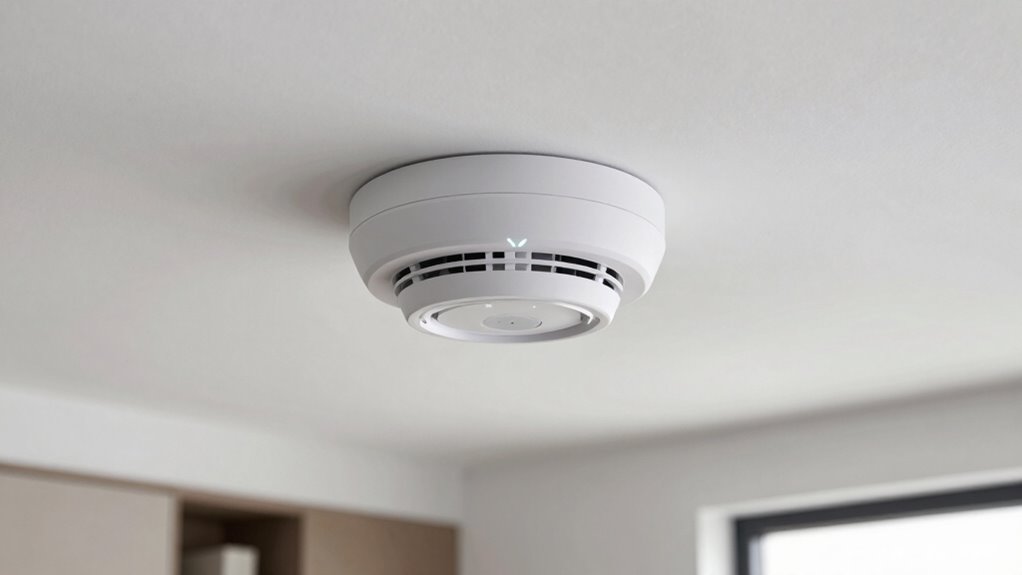
Mounting Height and Positioning Tips for Optimal Detection
Choosing the right height and position for your smart smoke and CO detectors is essential for effective warning. Proper placement guarantees ideal sensor sensitivity and longer battery life. To achieve this, consider these tips:
Proper placement of smoke and CO detectors ensures optimal safety and sensor performance.
- Mount smoke detectors on the ceiling or 12 inches below the ceiling for the best detection range.
- Keep CO detectors on the wall, about 12 inches below the ceiling, avoiding corners or dead spots.
- Avoid placing detectors near vents, fans, or windows, which can cause false alarms or hinder sensor performance.
- Regularly test and clean your detectors to maintain sensor sensitivity and extend battery life. Correct positioning maximizes detection accuracy and minimizes false alerts, keeping your home safer.
How Obstructions Impact Detector Performance and How to Minimize Them
Obstructions can considerably reduce the effectiveness of your smart smoke and CO detectors by blocking the sensor’s ability to detect signs of danger. Obstruction effects occur when objects like furniture, curtains, or appliances sit too close to the detector, impairing airflow and sensor exposure. To minimize these issues, follow placement guidelines that keep detectors at recommended heights and distances from potential obstructions. Avoid placing detectors behind doors, near ceiling fans, or inside cabinets, as these can hinder sensor performance. Regularly check for new obstructions that may develop over time, and keep the area around your detectors clear. Proper placement ensures unobstructed sensor operation, maximizing safety and response time in an emergency.
Smart Features That Help Overcome Placement Challenges
Modern smart smoke and CO detectors come equipped with features designed to address placement challenges, ensuring reliable detection even when ideal spots aren’t available. These detectors leverage home automation and connectivity features to enhance safety. For example:
- Wireless Connectivity: Alerts you remotely if smoke or CO is detected, bypassing placement obstacles.
- Multi-Device Linking: When one detector senses danger, all alarms sound, even if some are poorly placed.
- Mobile App Alerts: Receive instant notifications on your phone, helping you respond quickly regardless of location.
- Sensor Calibration: Smart detectors can adjust sensitivity based on environment, compensating for suboptimal placement.
These features work together to improve safety, overcoming traditional placement limitations through advanced technology and seamless integration.
Testing and Verifying Your Detector Placement Effectiveness
Once your smart smoke and CO detectors are installed with features that help mitigate placement issues, it’s important to verify that they’re working effectively. Start by performing calibration procedures recommended by the manufacturer to ensure accurate sensor readings. Use test buttons or remote testing features to confirm alarms trigger properly from each detector. Regularly check battery life management settings, replacing batteries as needed to prevent false alarms or missed detections. Many smart detectors notify you when batteries are low, so stay alert to these alerts. Conduct these tests monthly to maintain confidence in your detectors’ performance. By verifying placement effectiveness through calibration and battery management, you ensure your home stays protected and your detectors operate reliably when needed most.
Maintaining and Updating Detector Placement as Your Home Changes
As your home evolves—whether through renovations, new furnishings, or changes in room usage—it’s essential to periodically review and adjust your detector placement. Proper detector maintenance and placement guarantee maximum safety. Here are four steps to keep your system up-to-date:
- Reassess smoke and CO detector locations after each home renovation to avoid obstructions.
- Relocate detectors if new furniture or walls block airflow or reduce detection range.
- Regularly test detectors to ensure they’re functioning properly, especially after changes.
- Update placement if you add or remove rooms, ensuring all areas remain protected.
Frequently Asked Questions
How Often Should I Reposition My Detectors as My Home Layout Changes?
You should reposition your detectors whenever you do a home renovation or notice changes in your home’s layout. Regular detector maintenance includes checking their placement to guarantee ideal coverage. Moving detectors after major updates helps maintain safety and compliance. Keep an eye on their functionality and placement, especially when walls, ceilings, or room configurations change. Doing this ensures your detectors continue to protect you effectively as your home evolves.
Are There Specific Guidelines for Placing Detectors Near HVAC Systems?
Sure, placing detectors directly near HVAC systems is a great idea—said no one ever. In reality, you should avoid installing them right next to vents or ducts to prevent false alarms caused by HVAC interaction. Keep detectors at least 3 feet away from vents, and regularly check and maintain them for peak performance. Proper placement ensures reliable detection without unnecessary nuisance alarms, making your home safer and smarter.
Can Smart Detectors Be Placed Outside, and Are There Special Considerations?
Yes, you can place smart detectors outside, but you need to take into account environmental factors. Outdoor placement is possible if you protect the detector from rain, snow, and extreme temperatures, which can affect its performance. Install it in a shaded, well-ventilated area away from direct sunlight, and ensure it’s mounted securely. Regularly check for weather-related damage and replace batteries more frequently in harsh conditions to keep it functioning properly.
Do Placement Rules Differ for Multi-Story Versus Single-Story Homes?
Think of your home as a layered cake—each layer needs protection. For multi-story installation, place detectors on every level, especially near bedrooms and stairwells, to catch smoke or CO early. In single-story homes, focus on hallways and bedrooms. Placement rules do differ, because height, airflow, and room layout influence detector effectiveness. Proper placement guarantees quick alerts, keeping everyone safe no matter your home’s size or shape.
How Do I Troubleshoot False Alarms Caused by Improper Placement?
If you’re getting false alarms, start by checking sensor calibration—sometimes dust or debris can cause false alerts. Confirm wiring issues aren’t the culprit; loose or damaged wiring can trigger false alarms too. Verify the detector’s placement—avoid areas near kitchens or bathrooms with steam or cooking fumes. Regularly clean the sensor to remove dust buildup. Proper placement and maintenance help prevent false alarms and keep your smart detector functioning accurately.
Conclusion
Think of your detectors as silent guardians, standing watch in the shadows to protect your home. When placed wisely, they become unwavering sentinels, catching danger before it reaches you. Proper placement is the heartbeat of their effectiveness, turning awareness into safety. By respecting their position, you ensure they’re always ready—your home’s quiet protectors, vigilant and true, standing strong against unseen threats, so you can breathe easy, knowing you’ve done all you can to keep danger at bay.