To get smooth boards with your thickness planer, understand that snipe occurs due to uneven pressure or support, especially at the ends. Using the right knife setup, like three or four blades, helps produce cleaner cuts and reduces sniping. Keep blades sharp, align them properly, and support your board at both ends during planing. With these tips, you’ll minimize imperfections, and if you continue exploring, you’ll discover even more ways to perfect your finishing process.
Key Takeaways
- Use three or four-blade knives for smoother cuts and better chip removal in thickness planers.
- Minimize snipe by supporting boards at both ends, feeding with the grain, and maintaining steady feed rates.
- Properly align and regularly sharpen planer blades to ensure even cutting and prevent vibrations.
- Adjust table height and support to keep boards level and reduce uneven thickness or dips.
- Regular maintenance and professional repairs help sustain optimal planer performance and achieve flawless, smooth boards.
Top picks for "thicknes planer snipe"
Open Amazon search results for this keyword.
As an affiliate, we earn on qualifying purchases.
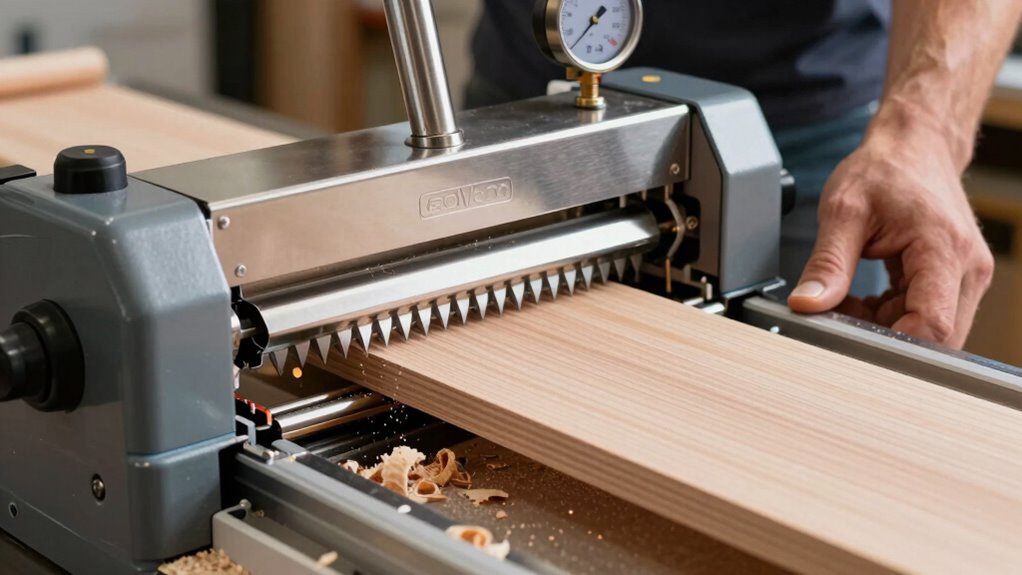
What Causes Snipe in Your Thickness Planer and How to Spot It
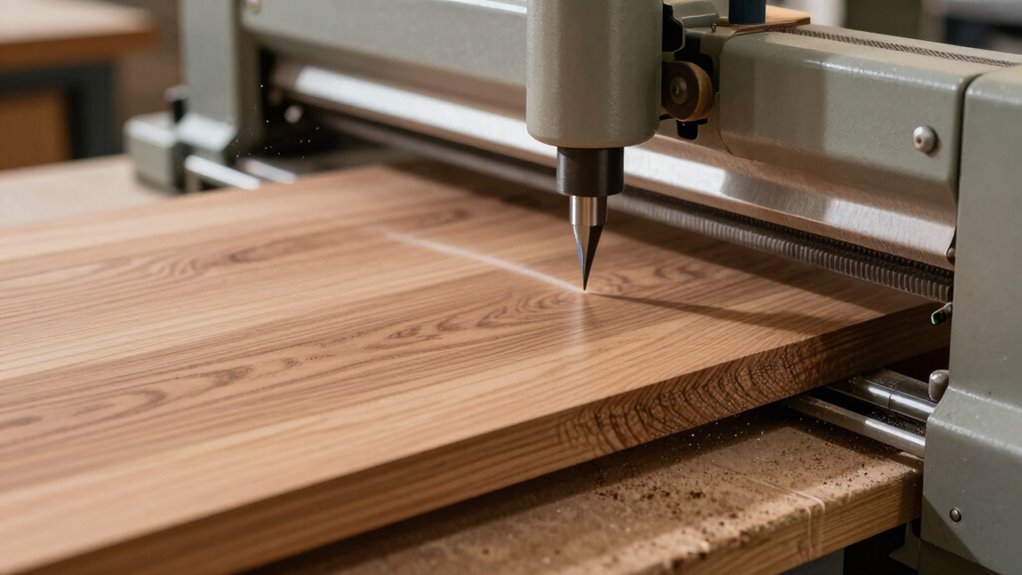
Have you ever noticed a slight dip or gouge at the ends of your boards after planing? That’s snipe, caused by uneven pressure as the board moves through the planer. One common reason is not paying attention to the grain direction; feeding the wood against the grain can cause resistance, increasing snipe. Additionally, a feed rate that’s too fast can lead to inconsistent pressure on the cutter head, resulting in a dip at the ends. To spot snipe early, check the ends of your boards after each pass—look for a slight gouge or dip. Adjust your feed rate to be steady and moderate, and always feed the board with the grain in the same direction. Properly supporting the board also helps minimize snipe. Understanding the importance of feed rate control is essential for achieving smooth, professional results. Maintaining a consistent pressure distribution across the board further reduces the likelihood of snipe and ensures a more uniform cut. Using proper technique can make a significant difference in achieving a smooth, flat surface on your boards. Paying attention to cutter head height can also help prevent snipe by ensuring even contact across the board.
How to Choose the Best Knife Configuration for Your Thickness Planer
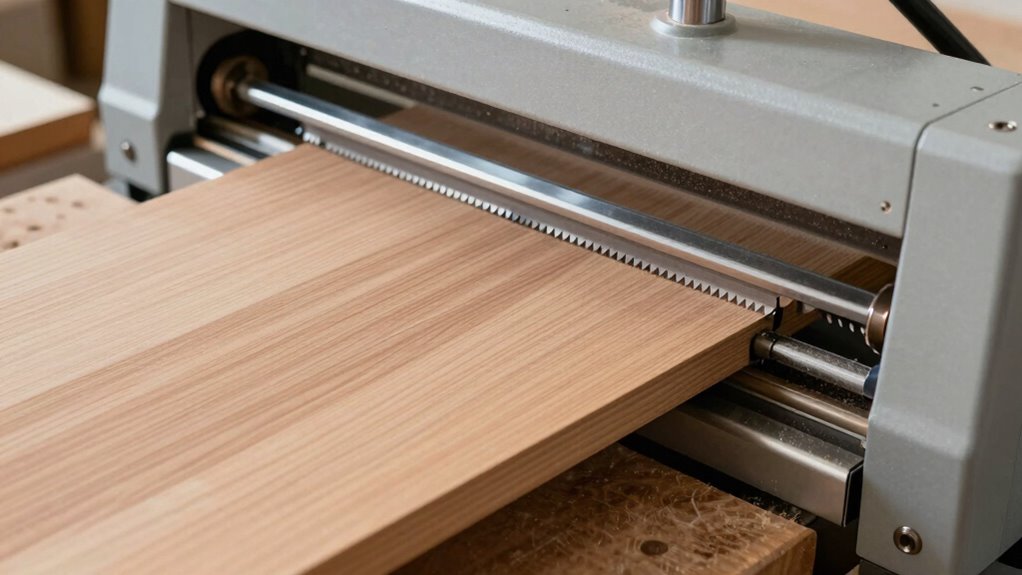
Choosing the right knife configuration for your thickness planer is essential for achieving smooth, even cuts and extending the tool’s lifespan. Proper setup guarantees efficient cutting, reduces tear-out, and minimizes the need for frequent knife sharpening. To select the best configuration:
Optimizing your planer’s knife setup ensures smooth cuts, prolongs blade life, and enhances overall performance.
- Consider the number of blades—three or four blades provide smoother cuts and better chip removal.
- Check if the blades are reversible or replaceable, making sharpening or swapping easier.
- Ensure proper planer blade alignment to avoid uneven cuts and vibrations.
- Regularly sharpen knives to maintain sharpness, which improves cut quality and reduces strain on the motor.
- Additionally, understanding blade maintenance techniques can help prolong the effectiveness of your knives and ensure consistent performance. Proper knife sharpening methods are vital for maintaining optimal cutting efficiency over time, especially when considering professional services that can assist with complex repairs or replacements. Proper maintenance practices can also prevent costly blade replacements and keep your planer operating at peak performance. Incorporating preventative maintenance routines can further extend the lifespan of your blades and ensure consistently smooth results.
How to Minimize Snipe and Achieve Smooth, Flawless Boards

To minimize snipe and achieve smooth, flawless boards, you need to pay close attention to your setup and feeding technique. Start by aligning the grain direction with the feed direction; feeding against the grain increases snipe. Adjust your feed rate to maintain consistent pressure—too fast causes uneven cuts, too slow risks tearing. Properly support the board at both ends to prevent flexing. Consider the table height and ensure it’s level, reducing uneven thickness. Use the following table to understand key factors:
| Factor | Tip |
|---|---|
| Grain direction | Feed with the grain for cleaner cuts |
| Feed rate | Maintain steady, moderate speed |
| Support during feed | Use support tables or rollers at entry/exit |
| Blade sharpness | Keep knives sharp for smooth cuts |
Implement these practices for ideal results.
Maintaining and Adjusting Your Thickness Planer for Perfect Results
Regular maintenance and precise adjustments are essential for keeping your thickness planer producing consistent, high-quality results. To do this effectively, you should:
Regular maintenance and precise adjustments ensure consistent, high-quality planer results.
- Clean the dust collection system regularly to prevent debris buildup that can affect performance.
- Check and tighten all bolts and adjustments to ensure stability during operation.
- Sharpen blades periodically to maintain clean cuts and reduce tear-out.
- Calibrate the depth settings accurately for each project.
- Refer to manufacturer guidelines and proper maintenance techniques to ensure optimal operation and longevity of your equipment.
Proper blade sharpening ensures smooth cuts, while effective dust collection keeps your workspace clean and prevents dust from interfering with adjustments. Regularly inspecting and fine-tuning your planer guarantees consistent thickness, minimizes snipe, and produces smooth, flawless boards every time.
When and How to Troubleshoot or Seek Professional Repairs
While your thickness planer typically runs smoothly, it’s important to recognize when troubleshooting or professional repair is needed. If you notice persistent motor noise, uneven cuts, or excessive snipe despite adjustments, it’s time to seek expert help. Troubleshooting tips include inspecting belts, blades, and electrical connections for visible damage or misalignment. However, if these steps don’t resolve the issue, don’t hesitate to contact a professional repair service. Attempting complex repairs yourself can cause further damage or void warranties. Regular maintenance can prevent many problems, but when problems persist, professional repair ensures your machine operates safely and efficiently. Recognizing when to call in the pros helps prolong your planer’s lifespan and keeps your projects on track.
Frequently Asked Questions
How Does Humidity Affect the Thickness Planer’s Performance?
Humidity affects your thickness planer’s performance by altering the wood moisture content, which causes wood to expand or contract. When humidity is high, the wood’s moisture increases, making it harder for the planer to achieve consistent thickness. To maintain ideal results, you should regularly check and calibrate your planer, especially in changing weather conditions, ensuring it handles moisture variations effectively for smooth, even boards.
Can Different Wood Species Impact Snipe Severity?
Think of wood species as personalities; some are more prone to snipe severity, affecting your planer’s performance. Hardwoods like oak often resist snipe, while softer woods like pine may exaggerate it. Different wood species impact snipe severity by how they respond to the planer’s pressure and cutting action. To keep snipe at bay, match your planer settings to the wood you’re working with and support softer boards properly.
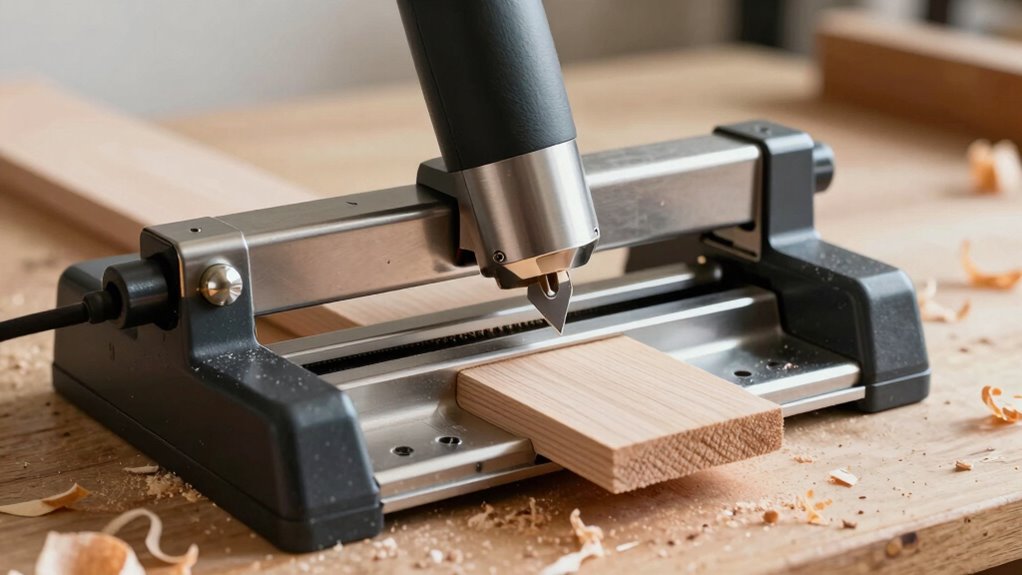
Are There Safety Tips Specific to Adjusting Planer Knives?
Yes, there are safety tips for adjusting planer knives. Always wear safety gear like goggles and gloves to protect yourself. Before adjusting, unplug the planer to prevent accidental startups. Check blade alignment carefully, ensuring the knives are set evenly to avoid kickback and snipe. Use a push stick if needed, and work slowly during adjustments. Properly securing the blades and double-checking alignment helps keep you safe and ensures smooth operation.
How Often Should I Replace Planer Blades for Optimal Results?
You should replace your planer blades when they become dull, nicked, or show signs of significant wear, typically every 20-40 hours of use or after several sharpenings. Regular blade sharpening extends blade life, but once sharpening no longer restores a clean cut, it’s time for blade replacement. Monitoring blade sharpness and replacement frequency ensures smooth cuts, reduces snipe, and maintains ideal results on your projects.
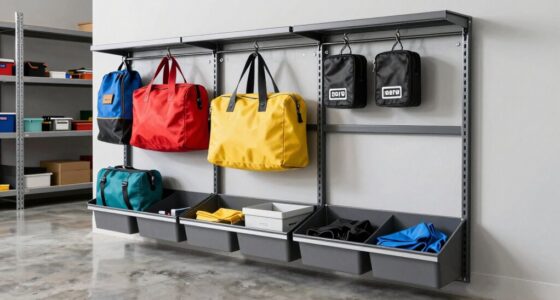
What Are the Best Storage Practices for Thickness Planers?
To keep your thickness planer in top shape, store it in a dry, clean area away from dust and moisture. Use dust collection systems during operation to minimize debris buildup. Organize your storage with shelves or cabinets designed for power tools, and cover the planer with a dust cover when not in use. Proper storage guarantees longevity and sustains your machine’s performance for smooth, precise planning every time.
Conclusion
So, after all this, you might think perfect boards are just a tweak away. But beware—no matter how much you fine-tune, snipe and imperfections can still sneak in. Ironically, the more you learn about your planer, the more you realize it’s a delicate dance of adjustments and maintenance. Embrace the challenge, because in woodworking, flawless results are often just a well-placed cut—or a well-timed complaint—away.