Green laser levels are more visible than red ones because our eyes are more sensitive to green wavelengths, making them brighter and easier to see in various lighting conditions. To get accurate results, set up your laser on a stable tripod, verify it’s properly calibrated, and check for level alignment regularly. Maintaining the laser’s brightness and avoiding common setup mistakes will boost performance. Keep exploring to learn more about optimizing your laser level for best results.
Key Takeaways
- Green laser levels are more visible than red ones due to human eye sensitivity to the green spectrum (520-532 nm).
- Proper tripod setup on stable, level ground ensures accuracy and prevents wobbling during measurements.
- Regular calibration with targets and environmental checks maintain precise laser line alignment.
- Keep laser lenses clean, use appropriate power settings, and store devices properly to sustain brightness.
- Secure all mounting hardware tightly and level the tripod to avoid common setup errors affecting measurement accuracy.
Why Are Green Laser Levels More Visible Than Red Ones?
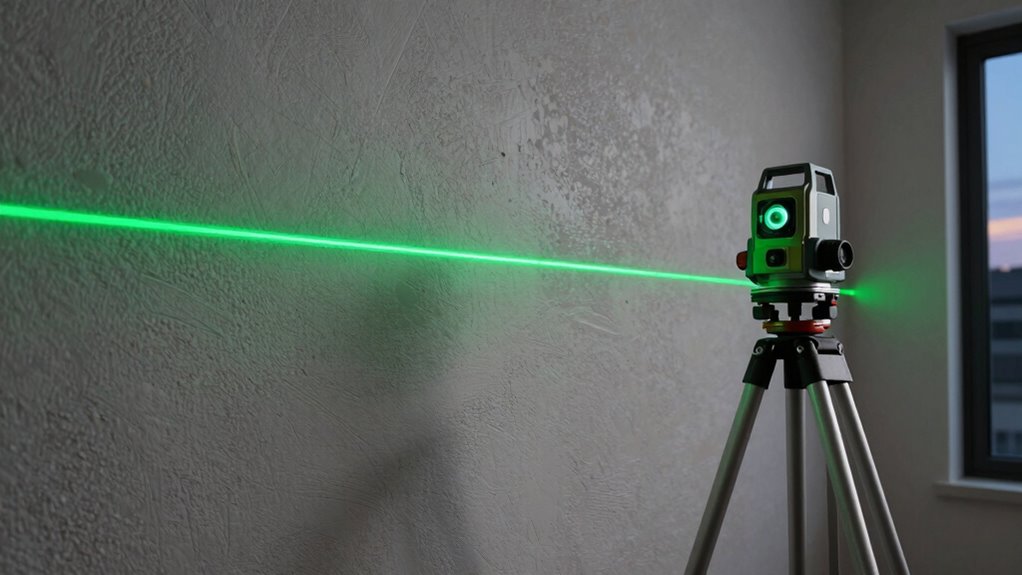
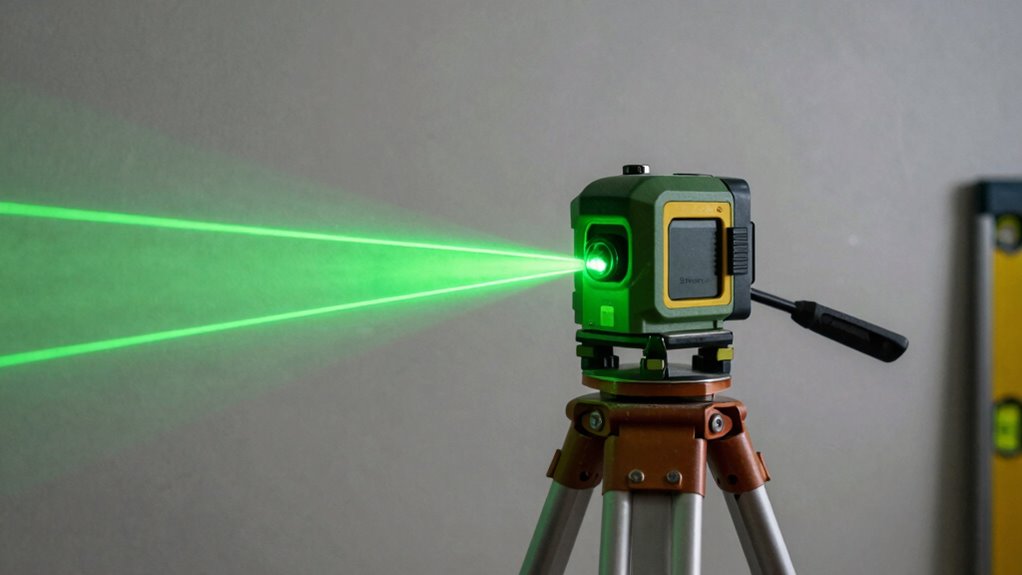
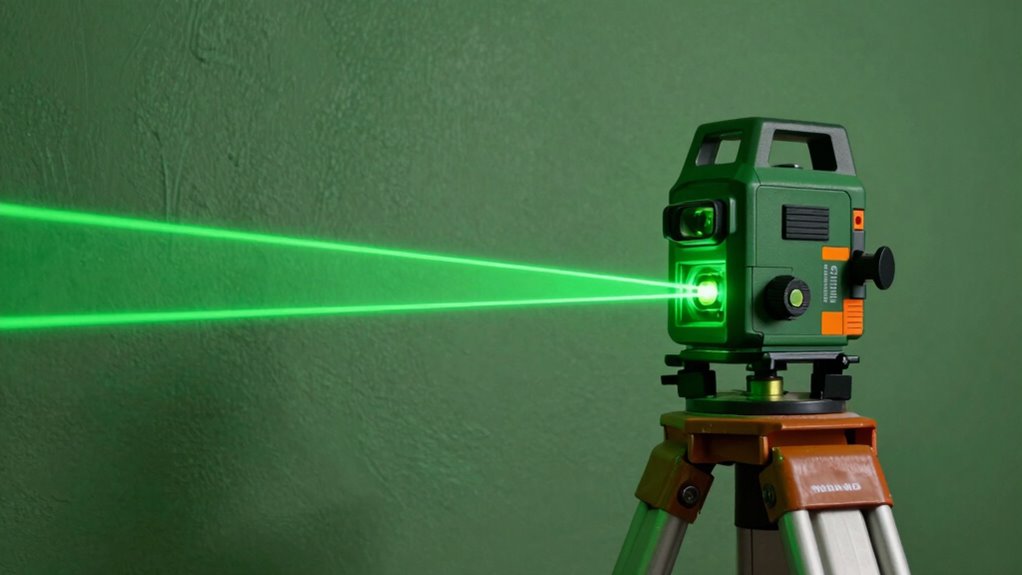
Green laser levels are generally more visible than red ones because the human eye is more sensitive to green light. This increased visibility stems from wavelength differences; green lasers emit light around 520-532 nm, which the eye perceives more intensely. Additionally, beam intensity plays an essential role—green lasers often produce stronger, brighter beams, making them easier to see over longer distances and in bright conditions. The eye’s sensitivity peaks in the green spectrum, so even with similar power levels, green lasers appear more vivid and clearer. This combination of wavelength sensitivity and higher perceived brightness ensures that green laser levels stand out more effectively, providing better accuracy and convenience during construction, alignment, or surveying tasks. Moreover, laser beam visibility can be further enhanced through proper calibration and the use of appropriate viewing accessories. Advancements in laser technology continue to improve the brightness and durability of green laser levels, further increasing their effectiveness in various applications. These innovations help optimize laser performance in diverse environments, making green laser levels a popular choice among professionals.
How to Set up Your Green Laser Level With a Tripod for Accurate Results

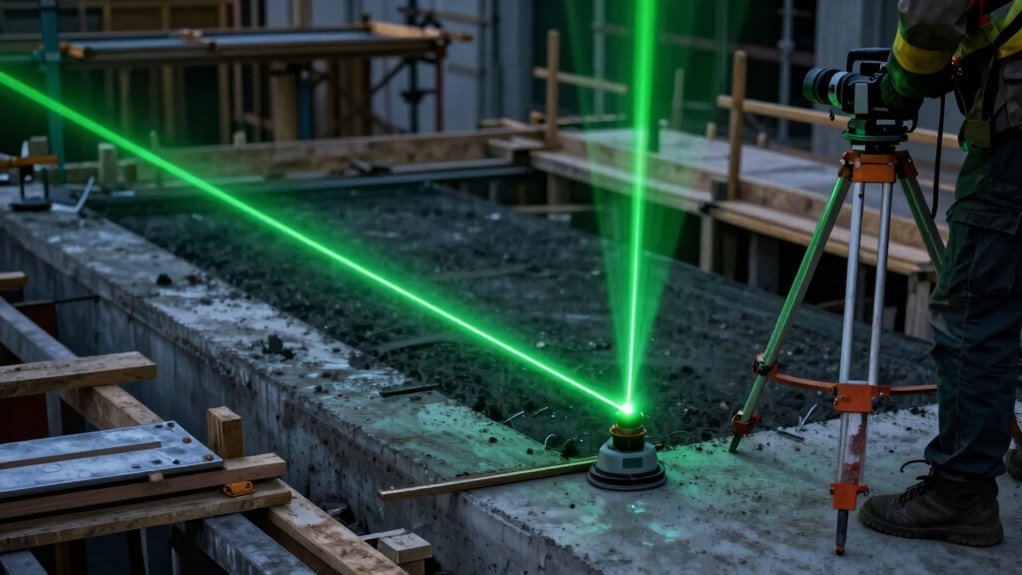
To achieve accurate results with your laser level, proper setup with a tripod is essential. Ensuring tripod stability prevents wobbling and maintains a level line. Use laser mounting techniques that secure the device firmly, avoiding slips or tilts.
Proper tripod setup ensures laser stability and precise, reliable lines.
Imagine:
- A sturdy tripod with thick legs planted firmly on even ground
- Adjusting the tripod’s height smoothly to match your working surface
- Securing the laser level tightly onto the mounting plate
- Verifying the tripod’s stability by gently nudging it before turning on the laser
These steps help keep your green laser level steady, resulting in precise, reliable lines. Proper setup minimizes errors and guarantees your measurements are accurate from start to finish.
How to Calibrate Your Green Laser Level for Precision

To guarantee your green laser level is accurate, start by checking that it’s on a stable, level surface. Use calibration targets to spot any misalignment and make necessary adjustments. Additionally, regularly inspecting the water chemistry helps maintain the laser’s accuracy by preventing issues caused by environmental factors. Proper instrument calibration ensures consistent performance over time. Remember to also verify the laser alignment periodically to confirm it projects straight and true for precise results. Keeping the power supply stable and well-maintained further supports consistent laser operation. Ensuring proper environmental conditions can also help prevent calibration drift and maintain accuracy.
Check Level Surface
Ensuring your laser level is properly calibrated begins with checking the surface you plan to use. A level, stable surface is essential for accurate readings. First, inspect the surface for surface smoothness—uneven or rough areas can distort the laser beam. Next, consider environmental factors like vibrations, drafts, or uneven lighting that might affect stability. Make sure the area is free of debris or obstructions that could interfere with the laser’s visibility. Finally, verify that the surface is solid and non-movable, so your calibration remains consistent throughout your project. By ensuring these conditions, you create a reliable foundation for your laser level, helping you achieve precise, consistent results every time. Additionally, sticking wall decor techniques can help secure your laser level setup in place during calibration. Remember that a level surface not only improves accuracy but also reduces the need for re-calibration, saving you time and effort. Properly calibrating your laser level on a stable foundation ensures optimal performance and accuracy throughout your project.
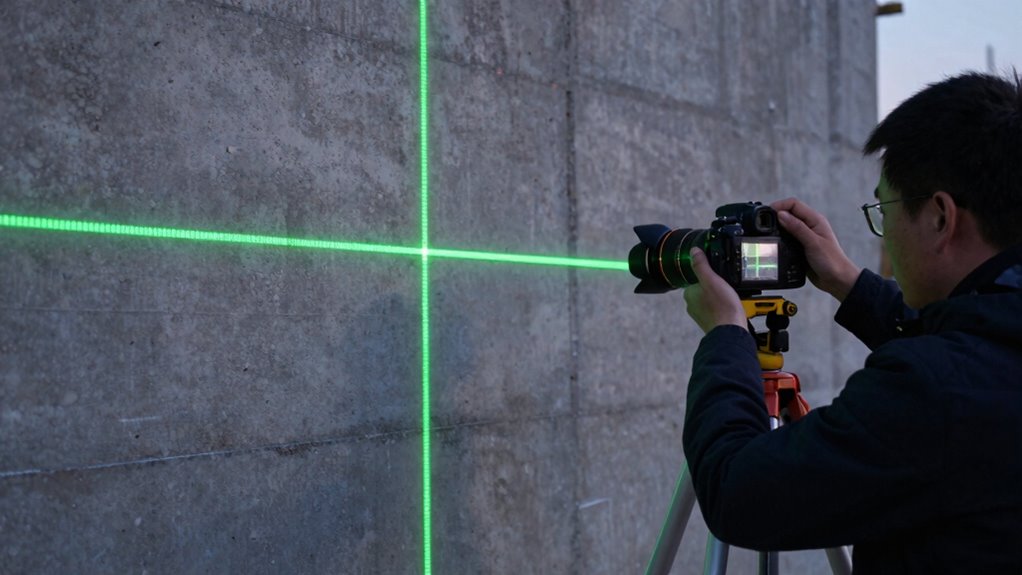
Use Calibration Targets
Using calibration targets is a crucial step in achieving accurate green laser level readings. To verify precise laser calibration, place the target at a fixed distance on a stable surface. Align the laser beam with the target’s center, making sure the laser’s line matches the markings or crosshairs on the target. Proper target alignment helps identify any deviations or misalignments in your laser level. Adjust the laser device according to the calibration instructions, which often involve fine-tuning screws or settings to align the laser line perfectly with the target. Regular use of calibration targets maintains your laser level’s accuracy over time, preventing measurement errors. By focusing on laser calibration and target alignment, you guarantee consistent, reliable results for your projects.
Verify Laser Alignment
Verifying your green laser level’s alignment is the key to maintaining measurement accuracy. Ensuring laser beam stability prevents errors, so regularly check for any deviations. Use mounting accessories securely to keep the laser steady—loose mounts can cause misalignment. Confirm the laser is level with a dependable bubble or digital level tool before proceeding. Observe the laser beam on calibration targets and look for consistent, straight lines. Any wobble or flickering signals a need for realignment. Tighten all mounting hardware and recheck the beam’s position. Consider adjusting the tripod or base to eliminate vibrations. Consistently verifying alignment guarantees your measurements stay precise and reliable, especially when working over long distances or on uneven surfaces. Regularly inspecting measurement accuracy helps identify and correct issues promptly, ensuring your projects meet safety and quality standards.
How to Achieve Accurate Horizontal and Vertical Lines
To guarantee your lines are accurate, start by aligning the laser carefully with your reference points. Use bubble levels effectively to confirm the laser level itself is perfectly horizontal or vertical before marking. Proper alignment and precise bubble level checks make all the difference in achieving straight, reliable lines. Additionally, utilizing wiring basics can help ensure your laser setup is correctly powered and grounded for consistent performance. Remember that understanding power supply and grounding techniques can prevent fluctuations that affect laser accuracy. Incorporating knowledge from Textile Line about protective and precise tools can further enhance your setup stability and accuracy. Being familiar with workshop safety practices can also help you handle equipment more securely during setup and calibration, especially when handling electrical components to prevent accidents.
Aligning Laser Lines Precisely
Achieving perfectly aligned laser lines is essential for accurate construction and renovation projects. To do this, you need to focus on minimizing errors caused by laser line thickness and laser beam divergence. Start by positioning your laser level on a stable surface or tripod, ensuring it’s level. Adjust the laser’s rotation or tilt controls for precise horizontal or vertical lines. Keep in mind that a narrower laser line improves accuracy, reducing the impact of laser line thickness. Be mindful of beam divergence, which can cause lines to spread and become less precise over distance. Regularly check the laser’s alignment with reference points. By paying careful attention to these details, you ensure your lines are sharp, straight, and reliable for your project needs.
- Stable mounting and level positioning
- Fine-tuning laser controls for accuracy
- Monitoring line sharpness and divergence
- Consistent reference point checks
Using Bubble Levels Effectively
Using bubble levels effectively is essential for ensuring your laser lines are truly horizontal or vertical. Proper bubble level usage starts with level surface preparation; verify your work surface is stable, clean, and free of debris. Place the bubble level on the surface or against the structure you’re working on, then adjust until the bubble centers perfectly between the marked lines. For vertical lines, hold the bubble level along the edge and verify it’s plumb before marking or laser alignment. Consistently checking and adjusting the bubble level guarantees your laser lines are accurate. Remember, a well-prepared, level surface combined with correct bubble level usage minimizes errors, leading to precise horizontal and vertical lines. Additionally, inspecting your tools regularly ensures that your bubble levels remain accurate over time, preventing errors caused by equipment wear. Ensuring your bubble level is properly calibrated helps sustain measurement accuracy throughout your project. Regular calibration also helps maintain the reliability of your measurements, which is crucial for achieving professional results.
How to Keep Your Green Laser Level Bright During Projects
Ever wonder how to keep your green laser level shining brightly throughout your project? Maintaining ideal laser brightness depends on adjusting your power settings and caring for your device. To maximize visibility:
- Keep the laser level clean, especially the lens, to prevent dimming.
- Use the highest power setting suitable for your environment to improve brightness.
- Store the device in a cool, dry place to avoid battery drain or damage.
- Replace or recharge batteries regularly for consistent laser output.
- Regularly calibrate your laser level to ensure accuracy and precision during projects.
- Properly caring for your laser level contributes to device longevity and consistent performance over time.
- Additionally, understanding the proper setup and handling of your equipment can prevent common issues that diminish brightness.
- Being familiar with power management techniques can further help maintain optimal laser brightness during extended use.
- Taking the time to perform routine maintenance can also help ensure your laser level remains bright and reliable over its lifespan.
Common Tripod Setup Mistakes to Avoid
One of the most common mistakes when setting up a tripod for your laser level is not guaranteeing it’s stable and level from the start. Poor tripod stability can cause the laser line to shift or be inaccurate, wasting time and effort. To avoid this, double-check that the tripod’s legs are fully extended and locked securely, providing a firm foundation. Pay close attention to proper mounting techniques; ensure the laser level is securely attached to the tripod head and that it’s balanced. An uneven setup can lead to inaccuracies in your measurements. Never overlook the importance of leveling the tripod before turning on the laser. Taking a few extra seconds to stabilize and level your tripod makes a significant difference in the accuracy and reliability of your laser level’s performance.
Troubleshoot Laser Visibility and Accuracy Problems
If your laser level’s lines aren’t visible or the measurements seem off, troubleshooting begins with checking the environment. Bright ambient light, reflective surfaces, or obstructions can diminish laser visibility and affect accuracy. Make sure the laser level is on a stable surface or tripod, free from vibrations. Verify that the batteries are fresh and properly installed; poor battery maintenance can cause dim laser output. Always follow laser safety guidelines to avoid accidental exposure, especially in bright conditions. Check for dirt or smudges on the laser lens and clean if necessary. Ensure your laser level is calibrated correctly. These steps will help restore visibility and precision, saving time and preventing errors on your project.
Frequently Asked Questions
How Long Does a Green Laser Level’s Battery Typically Last?
A green laser level’s battery typically lasts between 4 to 12 hours, depending on its power consumption and usage. You can extend battery life by turning off the laser when not in use and using high-quality batteries. Keep in mind that higher power consumption models may drain batteries faster, so choosing a device with efficient power management helps guarantee longer operation. Always carry spare batteries for uninterrupted work.
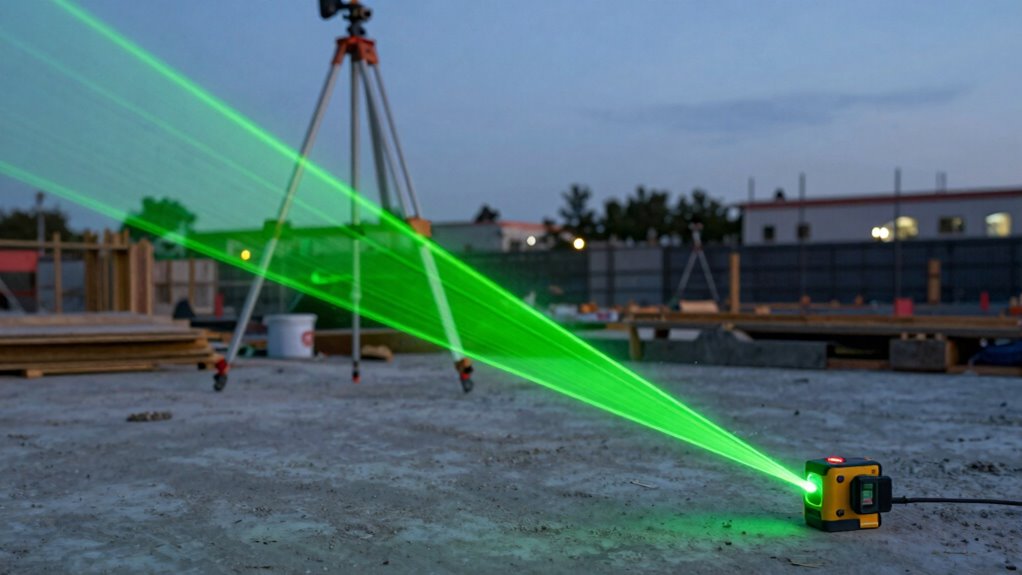
Can Green Laser Levels Be Used Outdoors in Bright Sunlight?
Yes, you can use green laser levels outdoors in bright sunlight, but solar glare and surface reflectivity can affect visibility. To improve accuracy, use a laser detector or receiver, which helps you see the laser beam over longer distances and in strong sunlight. Also, choosing a laser level with a brighter green beam and positioning it properly can minimize issues caused by surface reflectivity, ensuring reliable results in outdoor conditions.
What Safety Precautions Should I Take When Using Laser Levels?
When using laser levels, you should always prioritize safety. Wear eye protection to prevent potential damage from accidental laser exposure, especially with green lasers which can be more intense. Handle the device properly, avoiding direct eye contact with the laser beam and never pointing it at people or reflective surfaces. Keep the laser level stable and secure during use to prevent accidents. Following these safety precautions guarantees safe and effective operation.
Are Green Laser Levels Suitable for Indoor and Outdoor Use?
Yes, green laser levels are suitable for both indoor and outdoor use. Their laser beam power enhances visibility, especially in bright outdoor conditions, thanks to the vivid green color. Indoors, they provide precise lines for alignment tasks. Just make certain you adjust the laser beam power appropriately to avoid safety issues, and use a tripod for stability to maximize accuracy and visibility in any environment.
How Do Environmental Factors Affect Laser Line Visibility and Accuracy?
Think of environmental factors as both friend and foe—ambient light and surface reflectivity can make or break your laser’s performance. Bright ambient light, like sunlight, diminishes line visibility, while low surface reflectivity dulls the laser’s sharpness. To maintain accuracy, use adjustable brightness settings, choose reflective surfaces or add targets, and shield the laser from direct sunlight. This way, your lines stay clear and precise, no matter the surroundings.
Conclusion
With the right setup and calibration, your green laser level becomes a trusty guide, cutting through the chaos like a beacon of precision. Think of it as wielding a bright, unwavering torch in a dark room—illuminating every line and corner. When you master visibility and positioning, you turn complex projects into clear, achievable tasks. So, trust your laser, stay steady, and watch your work come to life with perfect accuracy, like a lighthouse guiding ships safely home.