
If you’re looking for beginner-friendly wall patch kits that make holes disappear easily, choose options with pre-mixed compounds, clear instructions, and texture-matching tools. These kits simplify the repair process by requiring minimal steps and offering materials that bond well and blend seamlessly with your wall. Proper preparation like cleaning and sanding helps achieve professional results. Keep exploring, and you’ll find tips to help your repairs look smooth and flawless effortlessly.
Key Takeaways
- Beginner-friendly wall patch kits include pre-mixed compounds and clear instructions for easy, mess-free repairs.
- They feature texture matching tools or textured compounds to seamlessly blend patches with existing walls.
- Durable, flexible materials prevent cracking and ensure long-lasting, professional-looking repairs.
- These kits are affordable, eco-friendly, and designed for quick application with minimal steps.
- Proper surface preparation and matching paint are essential for making holes disappear seamlessly.
Why Choose a Beginner-Friendly Wall Patch Kit?

Choosing a beginner-friendly wall patch kit is a smart move if you’re new to home repairs. These kits are designed to simplify the process, especially when it comes to texture matching, ensuring your repaired area blends seamlessly with the rest of your wall. They often come with pre-mixed compounds that are easy to work with, reducing the guesswork. Additionally, a kit with clear instructions helps you manage the drying time effectively, so you know when to sand or apply a second coat. This way, you avoid rushing or waiting too long, which can compromise the finish. Furthermore, understanding patching techniques helps you assess how well your wall will look under different lighting conditions, ensuring a professional appearance. Learning about digital skills can also assist you in researching product reviews or troubleshooting any issues during the repair process. Using a step-by-step guide can further boost your confidence and improve the overall outcome. Recognizing the importance of texture matching ensures that your repair blends smoothly with the surrounding wall, making the patch less noticeable. Overall, selecting a kit tailored for beginners saves you frustration, makes repairs quicker, and results in a professional-looking finish without needing advanced skills.
What Features Make a Wall Patch Kit Easy for Beginners?
Features that make a wall patch kit easy for beginners focus on simplicity and user-friendliness. One key feature is texture matching, which helps your repair blend seamlessly with the existing wall surface. Look for kits that include textured compounds or tools to replicate the wall’s pattern, making the patch less noticeable. Adhesive strength is also vital; a strong adhesive ensures the patch stays securely in place without sagging or falling off. Easy-to-use applicators and pre-mixed compounds can simplify the process, reducing the need for additional tools or skills. Clear instructions and minimal steps further enhance ease of use. When choosing a kit with these features, you’ll find repairing holes less intimidating, and your final result will look professional with minimal effort. Additionally, choosing energy-efficient tools and materials can contribute to more sustainable home repairs. Incorporating sustainable repair practices can also help maintain an eco-friendly home environment, especially when selecting repair materials with optimal filtration and longevity. Utilizing smart home technology features like automated lighting or environmental sensors can also assist in monitoring your repaired wall area for potential issues in the future. Incorporating proper ventilation during repairs can help prevent humidity-related problems and improve drying times.
How to Prepare Your Walls for Patching (Cleaning, Sanding, and Priming)
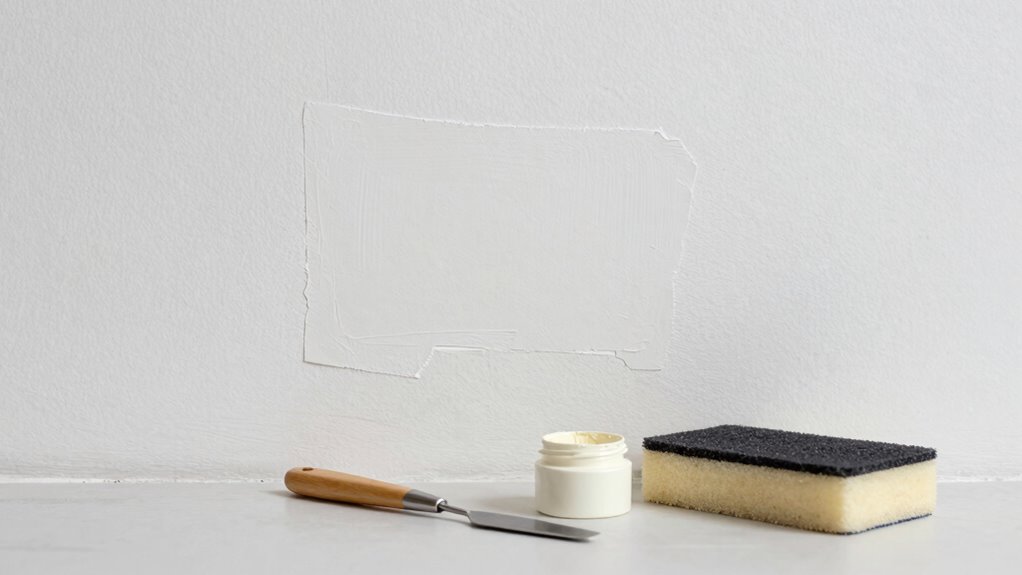
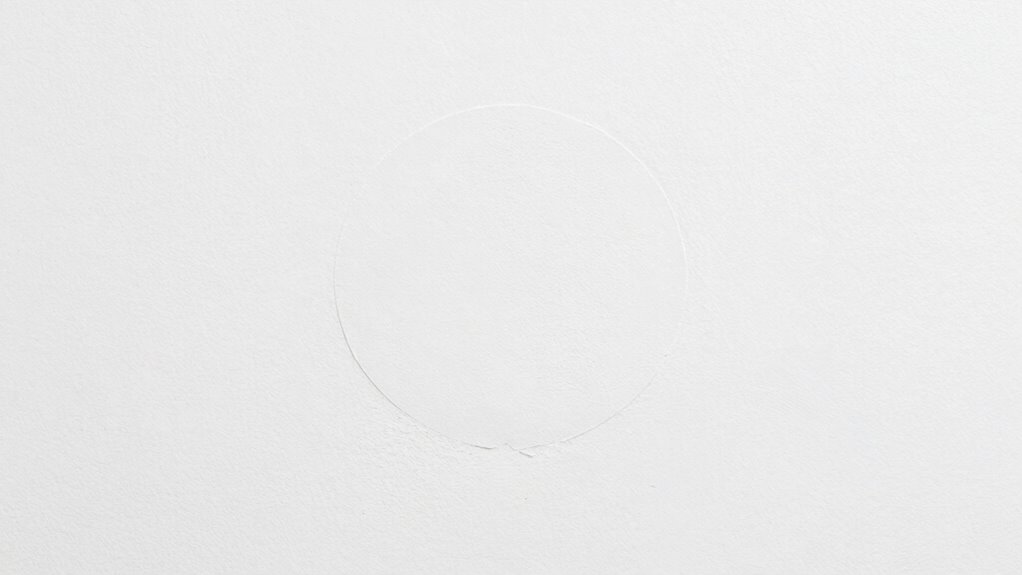
Before applying a patch, it’s essential to properly prepare your wall to guarantee a smooth and lasting repair. Start by cleaning the area thoroughly to remove dust, dirt, and grease, ensuring the patch adheres well. Lightly sand the surface around the hole to create a rough texture that helps the patch bond securely. If your wall has a specific wall texture, try to match it by gently smoothing or feathering the edges. Priming the area prevents uneven paint absorption and enhances adhesion, especially if you plan to repaint later. When selecting paint, choose a color and finish that match your existing wall. Proper preparation—including cleaning, sanding, priming, and considering wall texture—is crucial for ensuring your reliable patch job adheres securely and looks seamless.
Using a Wall Patch Kit: Step-by-Step Instructions
Once you’ve prepared your wall, it’s time to use the patch kit effectively. Focus on proper surface preparation techniques to guarantee the patch adheres well, and follow the application instructions carefully for a seamless finish. With the right steps, your repair will blend smoothly into the surrounding wall.
Surface Preparation Techniques
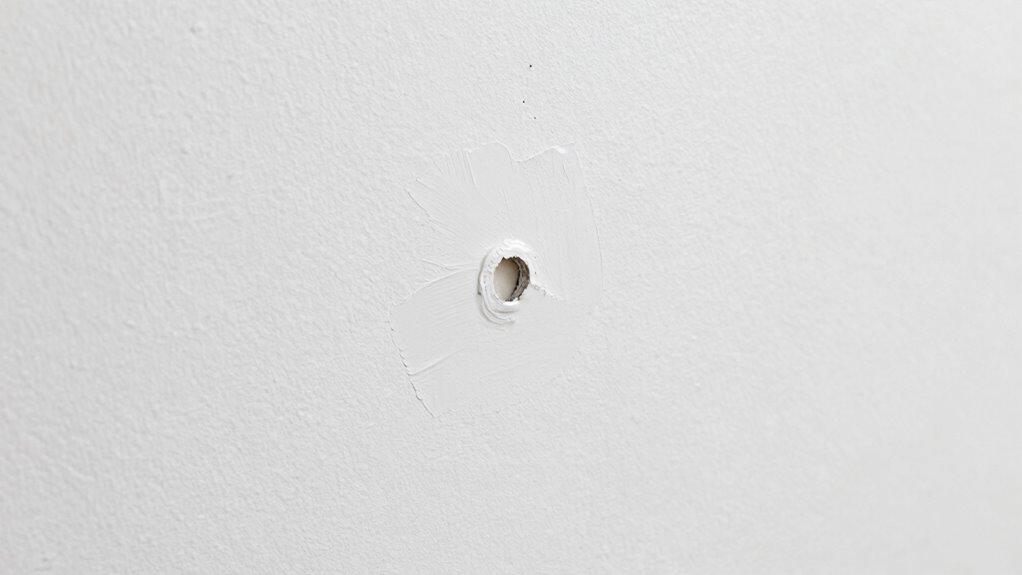
To guarantee a successful repair, start by cleaning the damaged area thoroughly. Remove dust, dirt, and loose debris with a damp cloth or brush to assure proper adhesion. Next, lightly sand the area around the hole to create a smooth surface and help the patch stick better. When it comes to texture matching, observe the existing wall finish and gently replicate it with a sponge or fine-grit sandpaper. This step minimizes the need for extensive finishing later. For paint selection, choose a color that closely matches your wall to blend seamlessly after the patch dries. Test the paint on a small, hidden spot first. Proper surface preparation makes the patch less noticeable and guarantees your repair looks professional and lasting.
Seamless Application Process
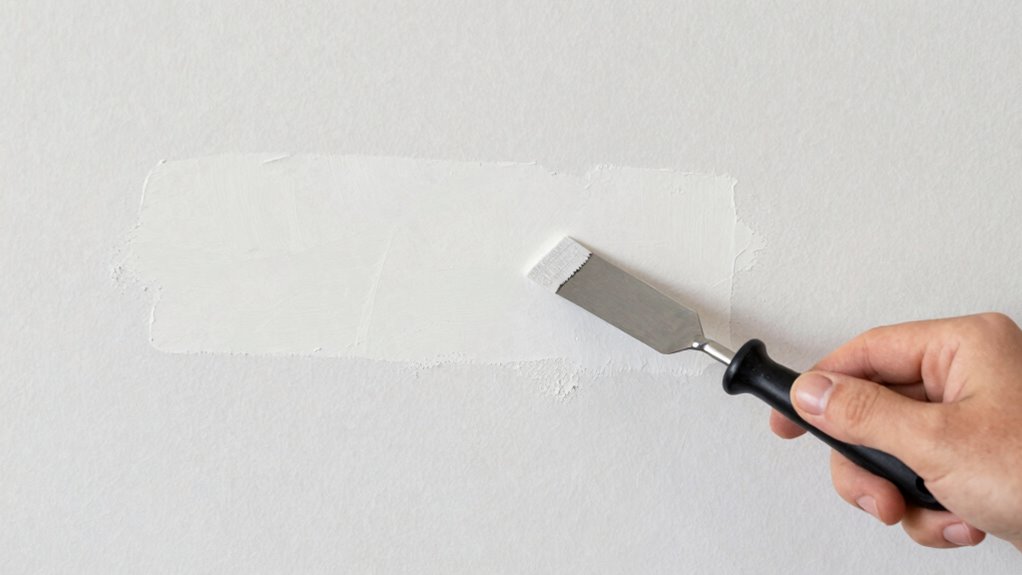
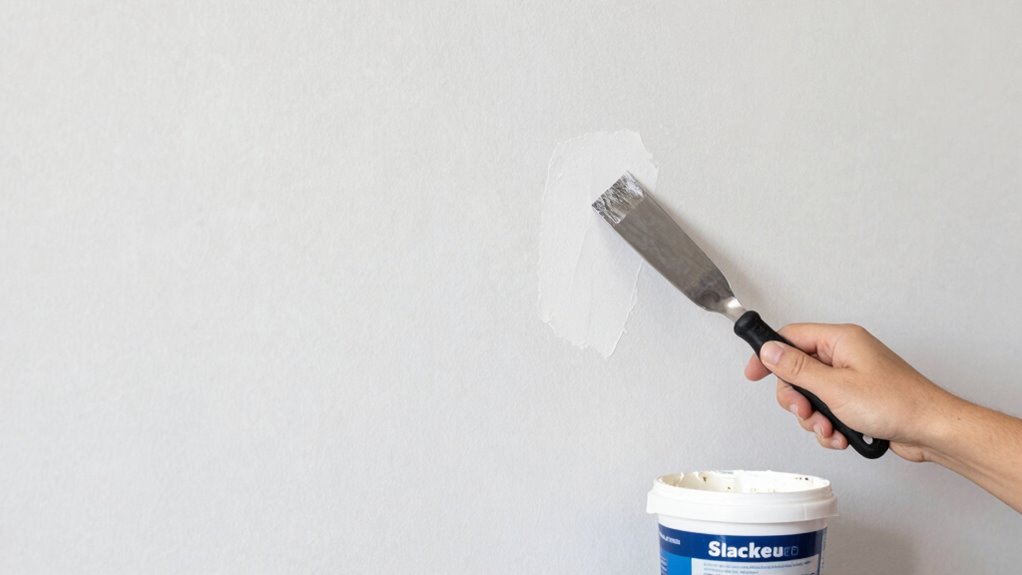
After preparing the surface, you’re ready to apply the wall patch kit. Follow these steps for a seamless application:
- Smooth the patch compound with a putty knife, ensuring it blends with the surrounding wall, focusing on texture matching.
- Let the compound dry completely, then lightly sand for an even surface.
- Prime the patched area with a suitable primer to improve paint adhesion and ensure paint compatibility.
- Match your paint color and finish carefully, applying thin, even coats for a uniform look.
- For best results, consider texture matching techniques to replicate the wall’s original finish, making the repair virtually disappear. Proper texture matching and paint compatibility are key to achieving a flawless, professional finish.
Top Wall Patch Kits for Beginners in 2024 : Our Picks
When choosing a wall patch kit, you want one that’s easy to apply, durable enough to last, and affordable for your budget. The best options strike a balance between simplicity, quality materials, and value. Let’s explore the top picks for beginners in 2024 that meet these key points. Additionally, selecting a kit with user-friendly application features can help ensure a smoother repair process for first-time users.
Ease of Application
Choosing the right wall patch kit becomes much easier when it’s simple to use, especially if you’re a beginner. Easy application guarantees smooth results, even on textured finishes. The best kits feature straightforward instructions and minimal tools needed.
Consider these key factors:
- Pre-mixed formulas that eliminate mixing messes
- Easy-to-spread compounds that work well on textured surfaces
- Self-adhesive patches for quick, no-fuss repairs
- Clear guidance on paint matching for seamless blending
These features make patching less intimidating and help you achieve a professional look. When the application process is simple, you can focus on perfecting the finish, ensuring that the repair blends perfectly with your wall, especially when matching paint and textures.
Material Durability
Durability is a vital factor to contemplate when selecting a wall patch kit, especially if you want your repairs to last over time. You need a kit with strong material strength that can withstand daily wear and tear. Look for patches made from resilient materials that won’t crack or crumble easily. Weather resistance is also essential, especially if your repair is on an exterior wall exposed to rain, humidity, or sunlight. A durable patch kit will resist moisture and temperature fluctuations, preventing future damage. High-quality materials ensure your patch blends seamlessly and stays intact longer. Investing in a kit with sturdy, weather-resistant components means fewer repairs down the line, saving you time and effort. Consider the material durability of the patch to ensure long-lasting results. For optimal longevity, also evaluate the adherence properties of the patch, as strong adhesion is crucial for a seamless repair. Additionally, selecting patches with flexibility and resilience can help accommodate minor wall movements without cracking. Choose wisely, and your wall will remain smooth and strong for years.
Price and Value
Are you looking for a wall patch kit that offers the best balance between cost and quality? To make an informed choice, consider these factors:
- Cost comparison: Evaluate prices across brands to guarantee you’re getting the most value without overspending.
- Material quality: Higher-quality materials may cost a bit more but can save you time and effort with better adhesion and finish.
- Kit contents: Look for extensive kits that include everything you need, avoiding extra costs later.
- Durability: Invest in a kit that provides long-lasting results, reducing the need for future repairs.
- Affiliate relationships: Be aware that some kits may include affiliate links, which can influence product recommendations and prices.
Tips for Achieving a Seamless Wall Repair Finish
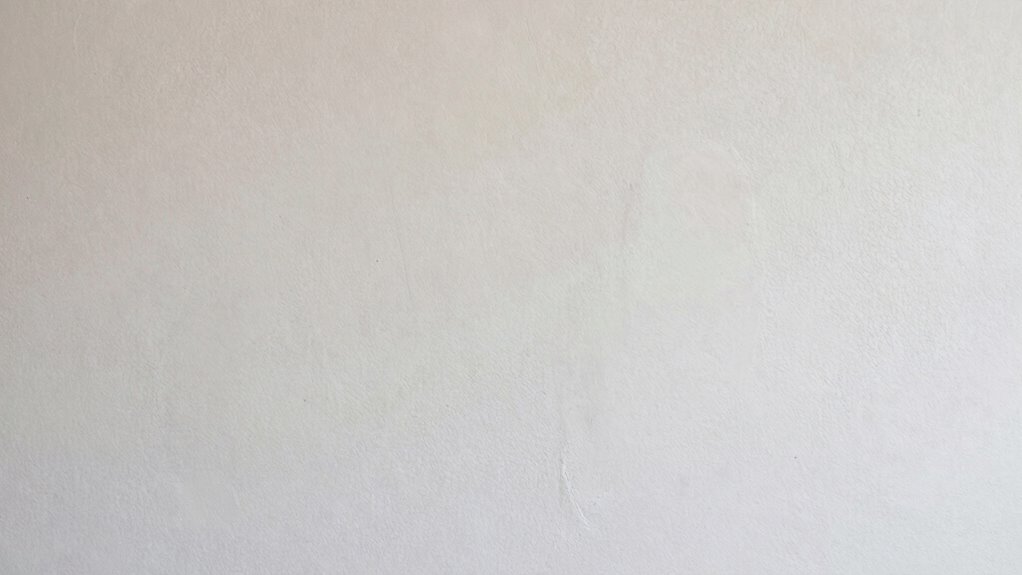
Achieving a seamless wall repair finish requires careful preparation and technique. Start by ensuring the patched area matches the surrounding texture through blending techniques like feathering or stippling. This helps hide the repair and creates a smoother transition. When painting, focus on paint matching by choosing a shade that closely resembles your existing wall color. Test the color on a small, inconspicuous area first, then apply multiple thin coats rather than one thick coat for even coverage. Sand lightly after the patch dries to smooth out any ridges or bumps. Use a high-quality brush or roller to apply paint, blending the edges into the original wall. Patience and attention to detail are key to making your repair invisible and professional-looking.
Common Mistakes to Avoid When Patching Walls

One common mistake to avoid when patching walls is failing to prepare the surface properly. Skipping cleaning or sanding can cause poor adhesion, leading to cracks or uneven drywall paint. To ensure a smooth finish, keep these points in mind:
- Don’t ignore matching wall texture; inconsistencies will be obvious after painting.
- Avoid applying the patch too thickly, which can cause uneven surfaces and visible seams.
- Don’t neglect priming the patched area before painting; this improves drywall paint adherence.
- Be cautious with sanding; too much can damage the wall, while too little can leave bumps that ruin the finish.
- Understanding sleep comfort factors can help you recognize how surface imperfections might affect your overall satisfaction with your living space.
Maintaining and Caring for Your Repaired Walls
To keep your repaired walls looking their best, regular maintenance and gentle care are essential. Start by matching the paint color exactly; even slight variations can make the repair noticeable. When cleaning, use a soft cloth and mild soap to avoid damaging the wall’s finish. Pay attention to wall texture—if your wall has a textured surface, try to replicate the pattern when repainting or touch-ups to maintain uniformity. Avoid scrubbing too hard, which can damage the patch or remove paint. Keep an eye on the repaired area over time, and touch up paint as needed to prevent chipping or fading. Proper care will ensure your walls stay smooth, vibrant, and seamless, preserving your home’s fresh and polished appearance. Additionally, using appropriate air quality practices can help maintain a healthier environment around your walls. Regular cleaning and ventilation not only prolongs the life of your repairs but also contributes to a more healthy living space, as well as a more pleasant environment. Incorporating proper maintenance techniques can further extend the lifespan of your wall repairs and keep them looking their best. Maintaining a consistent cleaning routine can also prevent dust and dirt buildup that might otherwise affect the appearance of your walls over time.
Frequently Asked Questions
Can Wall Patch Kits Fix Large Holes Effectively?
Yes, wall patch kits can fix large holes effectively if you choose one designed for bigger repairs. You’ll need to carefully prep the wall size, applying multiple layers if necessary, which might extend the repair duration. Follow the instructions closely, allowing each layer to dry thoroughly. With patience and proper technique, you’ll see a seamless repair, making the hole disappear and restoring your wall’s smooth surface.
Are Wall Patch Kits Suitable for Textured or Patterned Walls?
Think of wall patch kits as a tailor for your textured or patterned walls—they can be customized to blend seamlessly. While they can be suitable, you need to focus on texture matching and pattern blending carefully. If your wall has a complex texture, choose a kit that allows for detailed work. With patience and the right technique, you can restore your wall’s pattern and texture, making repairs nearly invisible.
How Long Does a Typical Wall Patch Repair Last?
A typical wall patch repair lasts several years if you use the right materials. To guarantee longevity, match the paint for seamless blending and choose a patch kit with moisture resistance, especially in humid areas. Proper surface preparation and applying multiple coats help the repair withstand daily wear. Over time, minor touch-ups may be needed, but with good technique, your repair can stay durable and look natural for a long time.
Do Wall Patch Kits Work on All Wall Types, Like Drywall and Plaster?
Think of wall types like different languages—drywall and plaster each have unique dialects. Wall patch kits generally work on drywall because of its porous, forgiving surface, making repair techniques straightforward. For plaster, you might need specialized patches or techniques tailored to its dense, brittle nature. Always check your wall material first, then choose the right patch kit or repair method to guarantee a seamless, lasting fix.
Is Special Equipment Needed Besides the Patch Kit for Repairs?
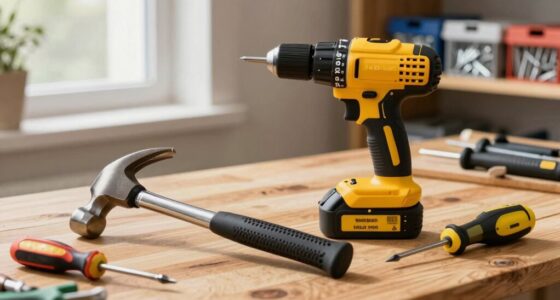
You typically don’t need special equipment beyond the patch kit itself, but you’ll want some additional tools for surface preparation, like a putty knife, sandpaper, and a damp cloth. These help you clean and smooth the area before applying the patch. Proper surface prep guarantees the patch adheres well and blends seamlessly. So, gather these basic tools to make your repair effective and professional-looking.
Conclusion
Think of patching your wall as tending a garden—you nurture the tiny holes back to health with patience and care. With the right kit and techniques, you’re the gardener who transforms a patchy space into a smooth, lush surface. Every seamless repair is like blooming flowers, revealing the beauty beneath. Trust the process, stay attentive, and your wall will flourish once more, a quiet affirmation to your skill and patience.