To find studs reliably, look for a digital electronic stud finder with advanced sensors that detect wall density changes and edge shifts, rather than just metal nails. Magnetic types can miss wooden studs or thicker walls. Choose models with adjustable sensitivity, clear displays, and good reviews for accuracy. Avoid false readings caused by pipes or wires. Keep reading to discover proven tips and features that help guarantee you locate studs accurately every time.
Key Takeaways
- Choose electronic stud finders with advanced sensors that detect wall density changes for accurate stud location.
- Opt models with edge detection technology to precisely identify stud edges rather than just guessing.
- Prioritize devices with adjustable sensitivity to adapt to different wall materials and thicknesses.
- Ensure the stud finder can detect both metal and density variations for comprehensive results.
- Read reviews and product specs to select trusted brands known for reliable, not just hopeful, stud detection.
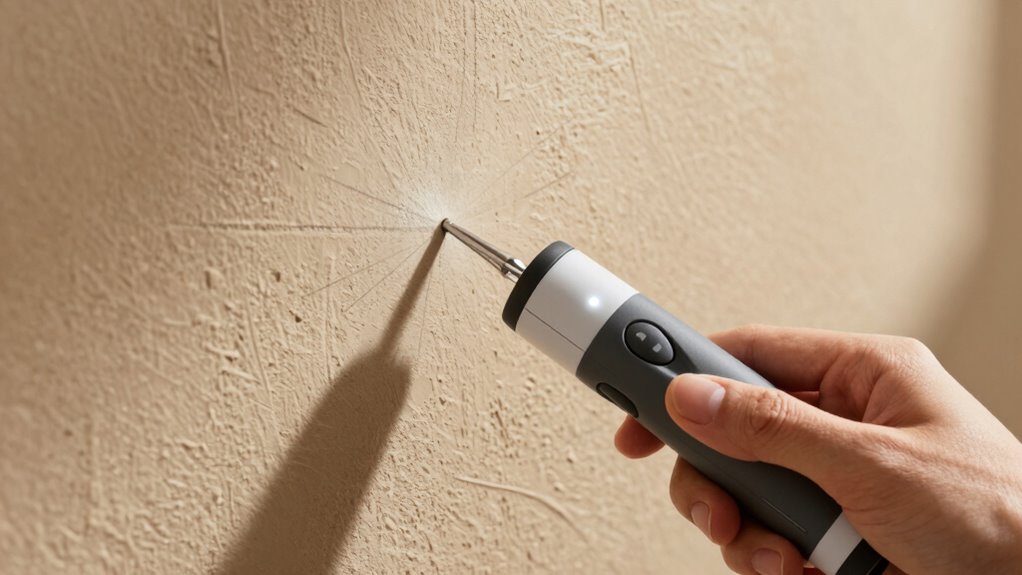
How Do Stud Finders Detect Wooden Studs?
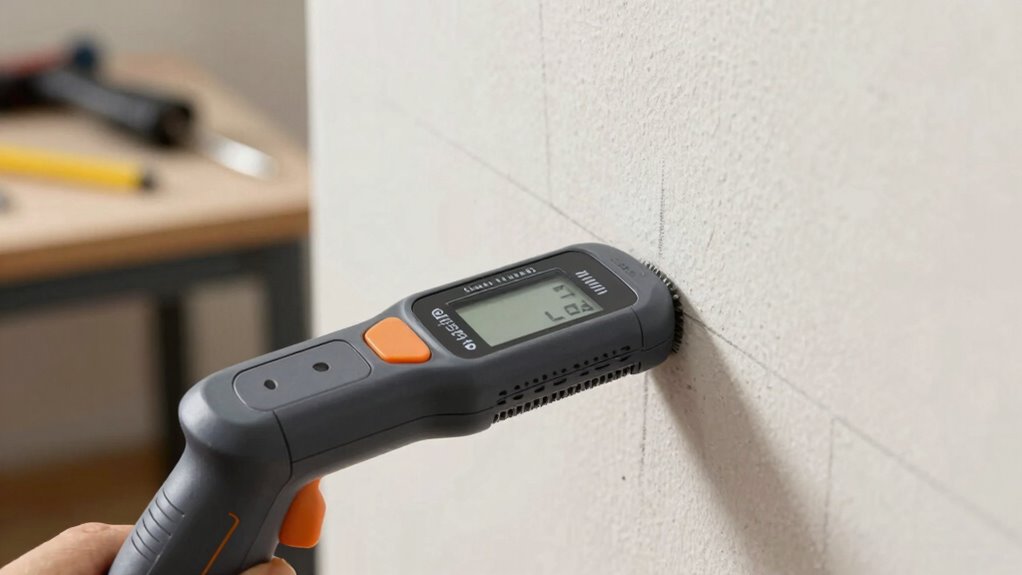
Ever wondered how stud finders actually locate wooden studs behind walls? They work by detecting changes in wall density and thickness. When you move a stud finder across a wall, it senses variations caused by the wooden stud’s edge. Advanced models use edge detection technology, which identifies the transition point when the device crosses from drywall into the stud. Wall thickness plays a vital role here; knowing typical thickness helps the device distinguish between studs and other materials. As you slide the finder, it pinpoints the edges of the stud, allowing you to mark its location accurately. This combination of wall thickness awareness and edge detection guarantees you find studs reliably, making your project safer and more precise without guesswork. Additionally, understanding the different types of stud finders can help you select the most effective tool for your specific needs. Modern sensor technology further enhances accuracy, ensuring you can locate studs with confidence.
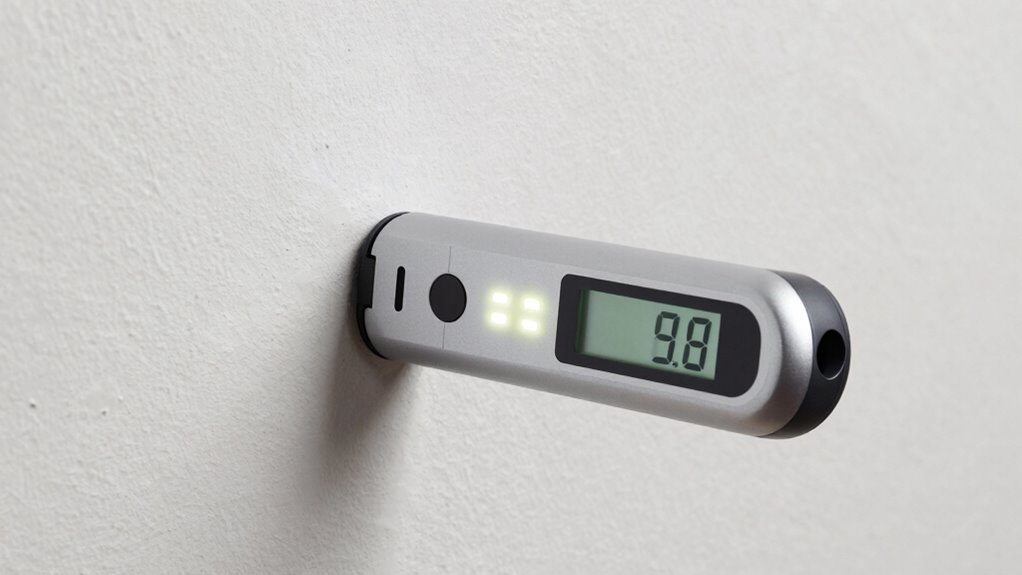
Top Features to Look for in Reliable Stud Finders
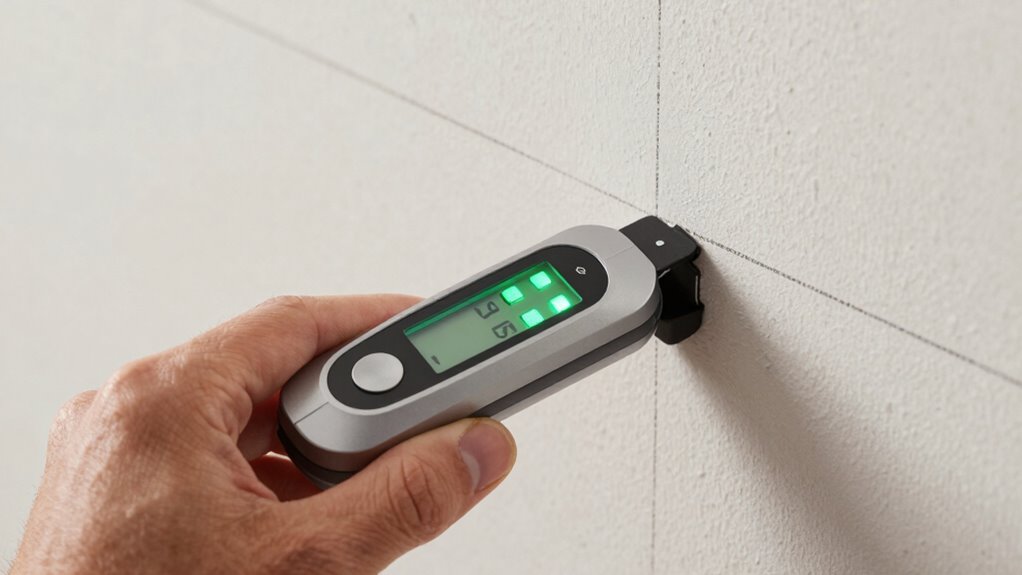
When choosing a reliable stud finder, it’s essential to look for key features that guarantee accurate and easy detection. First, wireless connectivity allows seamless data transfer and updates, keeping your device current. Long-lasting battery life ensures you won’t be interrupted mid-project, saving frustration. A user‑friendly interface makes operation simple, even for beginners. Additionally, adjustable sensitivity helps tailor detection to different wall types. Reliable stud finders also feature clear LED indicators or displays for easy reading. Consider durability and ergonomic design for comfort during extended use. Being aware of wall materials can significantly impact detection accuracy, as different surfaces may require specific settings or tools. Understanding wall composition can help you select the right device for your needs. Incorporating advanced sensor technology can further improve precision and reliability in various environments. Consider also the availability of additional features like deep scanning modes or multi-surface detection to enhance versatility. Here’s a quick overview:
| Feature | Benefit |
|---|---|
| Wireless Connectivity | Easy updates and data transfer |
| Battery Life | Longer use without interruptions |
| Sensitivity Adjustments | Precise detection across surfaces |
| User Interface | Simple operation for quick results |
| Durability & Comfort | Comfortable grip for extended use |
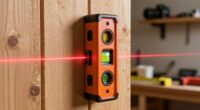
Magnetic vs. Electronic Stud Finders: Which Is Better?

Choosing between magnetic and electronic stud finders depends on your specific needs and the type of walls you’ll be working with. Magnetic stud finders rely on metal detection, attracting nails or screws embedded in the wall, making them simple and reliable for locating studs behind thin or drywall surfaces. However, their effectiveness can be limited by wall thickness and the presence of non-metallic materials. Electronic stud finders use sensors to detect changes in wall density, helping you locate studs more precisely in thicker walls or those with insulation. They often include features to identify electrical wiring and metal pipes as well. If you need quick, basic detection, a magnetic finder works well. For more accuracy and versatility, especially with thicker walls, an electronic stud finder is generally the better choice. Additionally, wall composition can significantly influence which type of finder will perform best in your situation. When selecting a stud finder, considering wall materials can help ensure you choose the most effective tool for your project. It’s also worth noting that advancements in sensor technology have improved the reliability of electronic models, making them a popular choice among DIYers and professionals alike.
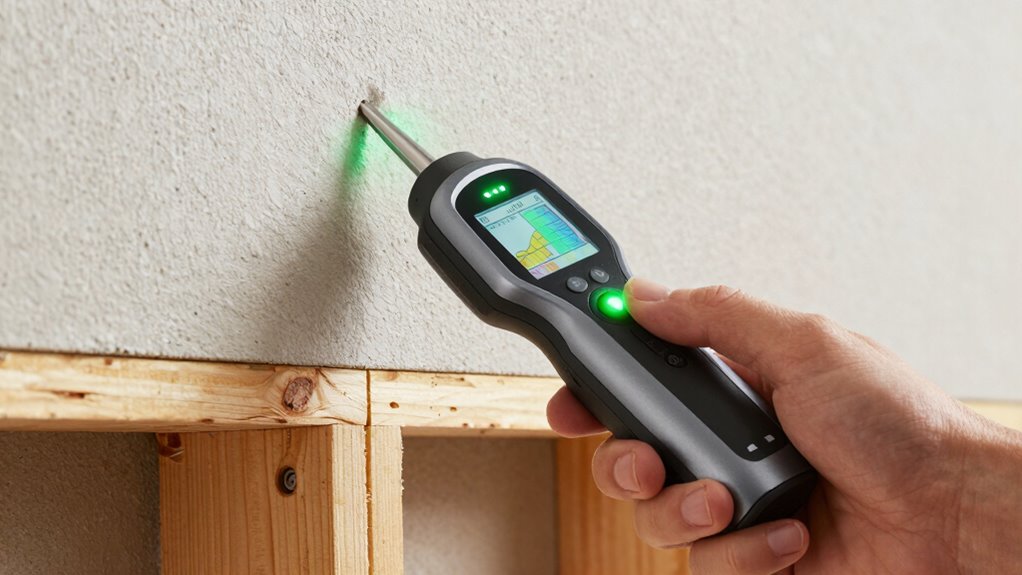
Common Mistakes That Cause False Readings and How to Avoid Them
Many common mistakes can lead to false readings when using stud finders, causing frustration and inaccurate results. Wall interference is a major culprit, especially if you don’t clear metal objects, pipes, or electrical wires nearby. Improper calibration also causes issues; if you don’t recalibrate your device before each use, it may misread studs or empty wall spaces. Additionally, understanding nanotechnology advancements can help in developing more accurate detection devices. Modern sensor technology in high-quality stud finders enhances detection precision and reduces errors caused by wall composition variations. Follow manufacturer instructions carefully and test in a known stud area first. Moving the finder too quickly and using it on textured or uneven walls can also lead to errors. Being aware of water pipe locations can further improve detection accuracy and prevent false readings. Using a stud finder with advanced sensors can also help reduce errors caused by wall composition variations. To improve accuracy, consider selecting a high-quality device designed with multiple detection methods.
Tips for Using a Stud Finder Effectively for Perfect Wall Mounts
To achieve perfect wall mounts, you need to use your stud finder carefully and follow a few key tips. First, consider wall material considerations—wood, drywall, or plaster require different scanning techniques. Always calibrate your stud finder on a small, unobstructed area before starting. When marking studs, verify the location by scanning slightly above and below your initial reading. Drill bit selection is essential; choose a bit that matches the weight and size of your mount to prevent damage. Use a level to ensure your markings are straight, and double-check stud locations before drilling. Applying steady pressure and moving slowly across the wall improves accuracy. Additionally, understanding the science behind LED masks can help you choose the right device for your skincare needs. Being aware of nutrient absorption in raw foods can inform your diet for better health. Recognizing the importance of proper calibration of your stud finder ensures more precise results. Proper piercing care and hygiene can also impact your overall safety and success with body modifications. Remember that material differences in walls can significantly affect your scanning technique. With these tips, you’ll ensure your mounts are secure and perfectly aligned.
Frequently Asked Questions
Can Stud Finders Detect Metal Studs or Only Wooden Ones?
Most stud finders can detect both metal and wooden studs, depending on their features. If you’re working with metal studs, look for a stud finder with metal detection capabilities, which uses metal detection technology instead of just wall composition sensing. This way, you’ll get accurate results whether the wall has metal or wooden framing, making your project easier and more precise.
How Deep Can Different Stud Finders Accurately Detect Studs?
Like a detective unearthing hidden clues, you wonder how deep your stud finder can probe. Generally, the wall thickness and device sensitivity determine this; most good models detect studs up to 1.5 inches deep, some even reaching 3 inches. Keep in mind, thicker walls or lower sensitivity settings might limit detection. To guarantee accuracy, choose a device tailored to your wall’s thickness and your specific needs.
Are There Specific Wall Types That Affect Stud Finder Accuracy?
Yes, wall material and stud density impact your stud finder’s accuracy. In dense walls like brick or concrete, it’s harder for your device to detect studs accurately, while in drywall or plaster, it works better. Thicker walls or those with irregular stud spacing can also reduce precision. To get the best results, choose a stud finder designed for your specific wall material and be aware of variations in stud density.
How Often Should I Calibrate My Electronic Stud Finder?
You should calibrate your electronic stud finder every time you start a new project or switch wall types, ensuring peak sensor accuracy. Typically, calibrate it after turning it on and before scanning, especially on different surfaces or wall materials. Regular calibration helps maintain precision, so you can confidently locate studs without guessing. Remember, frequent calibration minimizes errors and keeps your tool functioning correctly, saving you time and frustration during your project.
Is It Safe to Use a Stud Finder Near Electrical Wiring?
Like traversing a maze, using a stud finder near electrical wiring can be tricky. It’s generally safe if you keep a safe distance, but electrical interference and wall material can cause false readings. To prevent shocks or damage, avoid placing the device directly over live wires. Always turn off power when in doubt, and use a non-contact voltage tester to double-check. Stay cautious—your safety depends on it.
Conclusion
Now that you know what makes a reliable stud finder and how to use it properly, you’re ready to transform your wall-mounting experience. Picture yourself confidently gliding the device across the surface, feeling the subtle click or gentle beep as it pinpoints the sturdy wood behind the drywall. With this knowledge, those perfect, secure hangings become effortless, turning your walls into a canvas of flawless craftsmanship. Happy drilling!