
To make your DIY paint job look professional, use high-quality brushes and rollers suited for your surface, along with proper surface prep. Invest in painter’s tape and heavy-duty drop cloths to keep edges clean and protect furniture. Consider using paint sprayers for a smooth finish and always clean your tools thoroughly for longevity. Choosing the right tools for different surfaces and techniques will elevate your work—keep exploring how to get those perfect results.
Key Takeaways
- Use high-quality brushes and rollers to achieve smooth, even application with minimal streaks or brush marks.
- Properly prepare surfaces with cleaning, sanding, and priming for better paint adhesion and a professional finish.
- Select the right tools, such as angled brushes for edges and varying nap rollers for different textures, to enhance precision.
- Incorporate painter’s tape and drop cloths for clean edges and mess-free work, elevating the overall quality.
- Maintain and clean tools regularly to ensure optimal performance and extend their lifespan for consistent results.
Essential Painting Tools That Make DIY Look Professional (Even If You’re Not)
To achieve a professional-looking finish, having the right painting tools is essential, even if you’re a DIY beginner. Starting with paint preparation ensures your project looks polished; clean surfaces, remove debris, and prime properly. Good tools help with color matching, ensuring that your chosen shades blend seamlessly and look uniform. Use quality brushes and rollers to apply paint smoothly, reducing streaks and uneven coverage. Proper paint preparation also involves mixing and stirring thoroughly to achieve consistent color and texture. When you match colors carefully and prepare your paint correctly, your finished project appears more refined. Utilizing high-quality tools can significantly improve application and overall results. Additionally, understanding visual and auditory cues from speech therapy techniques can help you better gauge the consistency of your paint and make adjustments as needed. These foundational steps set the stage for a professional-looking result, making your DIY efforts stand out without the need for advanced skills or expensive equipment. Furthermore, incorporating landscaping elements around your painted surfaces can enhance the overall aesthetic and create a cohesive look. Regularly inspecting your work for irritants like drips or uneven patches helps maintain a polished appearance throughout the project. Incorporating techniques such as proper brush stroke methods can also elevate the quality of your finish.
How High-Quality Brushes Improve Your Finish
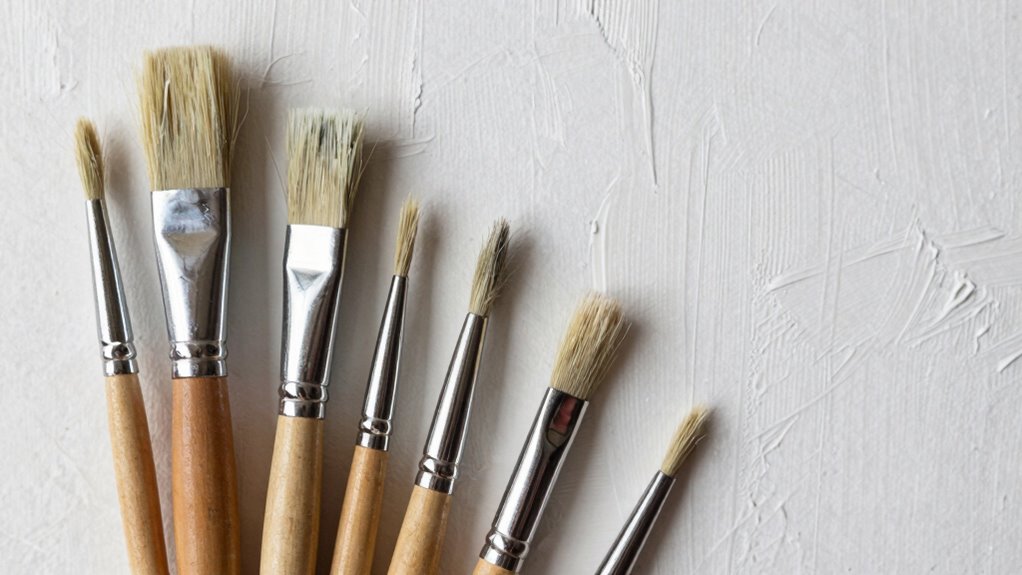
Using high-quality brushes can make a noticeable difference in the final look of your paintwork. Good brush quality guarantees smooth strokes, minimal brush marks, and better control, resulting in a more professional finish. When your brush holds paint well and releases it evenly, your paint consistency improves, reducing drips and uneven layers. Cheaper brushes often shed bristles or create streaks, making your job harder. To help you understand, here’s a quick comparison:
| Aspect | High-Quality Brush | Low-Quality Brush |
|---|---|---|
| Paint Retention | Holds paint evenly | Loses paint quickly |
| Brush Marking | Minimal visible strokes | Noticeable streaks |
| Durability | Lasts through multiple uses | Wears out fast |
Investing in good brushes saves time and elevates your results. Recognizing the importance of material quality can help you select tools that truly make a difference. Additionally, proper brush maintenance extends the lifespan and performance of your tools. Moreover, understanding craftsmanship standards can ensure your work consistently looks professional. Improving your knowledge of tools and techniques can further refine your painting skills and achieve a flawless finish.
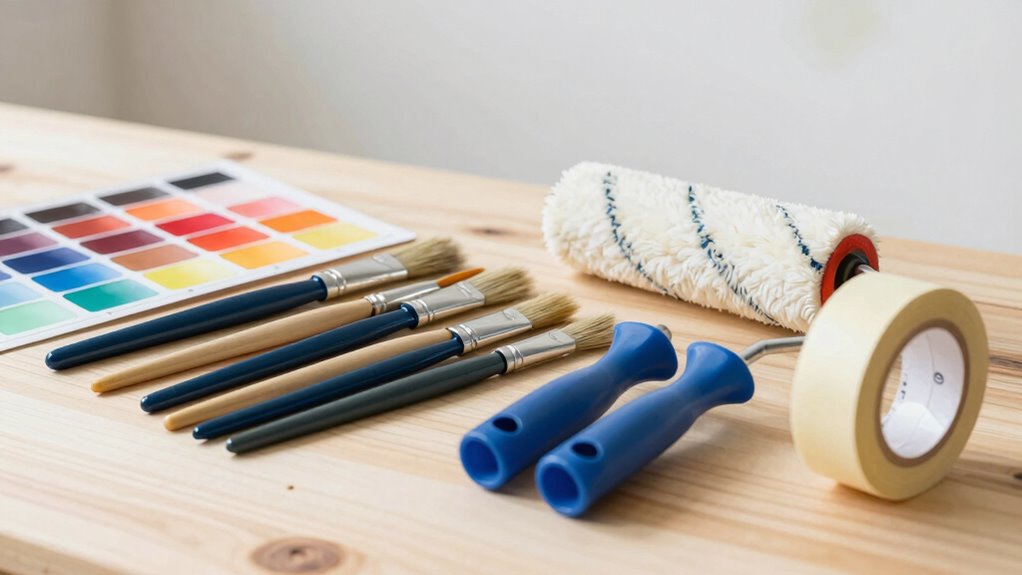
Choosing the Right Rollers and Applicators for Flawless Results
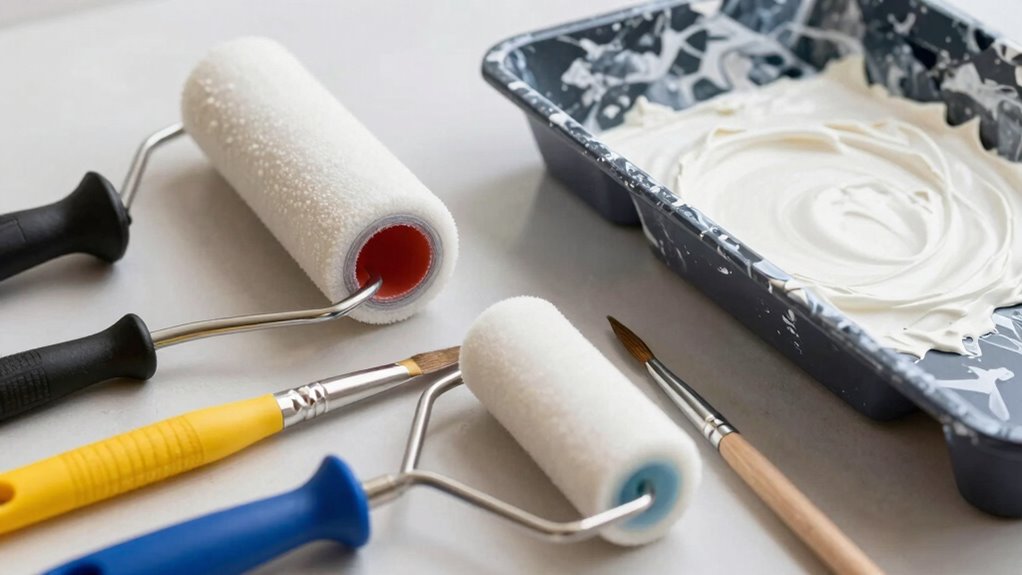
Choosing the right rollers and applicators is essential for achieving a smooth, professional-looking finish. The proper roller can minimize visible brush strokes and create an even coat. Select nap length based on your surface—shorter naps work best for smooth walls, while longer naps are ideal for textured surfaces. Using correct roller techniques, like applying consistent pressure and overlapping each pass, helps prevent streaks and uneven coverage. Avoid pressing too hard, which can cause roller marks, or rolling too quickly, which hampers paint absorption. For precision edges, combine rollers with edge tools. Additionally, understanding the European cloud infrastructure can inspire innovative approaches to DIY projects by integrating smart tools and techniques. Proper paint application methods are also vital to achieving a flawless finish. Being aware of paint drying times and environmental factors like temperature and humidity can further influence your results. By choosing the right tools and mastering basic roller techniques, you’ll ensure a flawless finish that looks professionally done, even if you’re just starting out. Incorporating modern technology into your painting routine can help optimize your workflow and results. For example, using smart paint applicators can enhance control and consistency during your project.
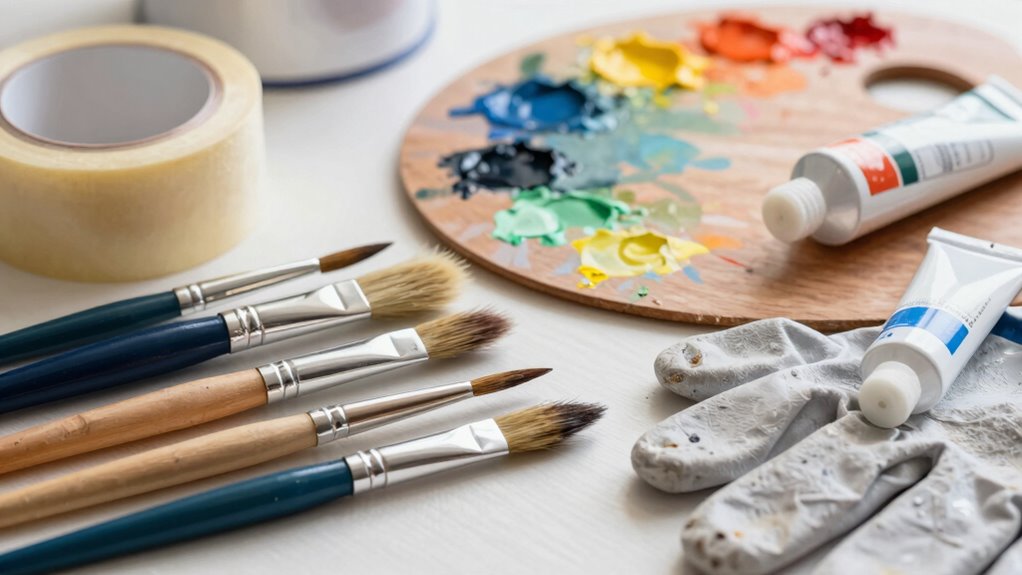
The Best Drop Cloths and Tape for Clean Edges
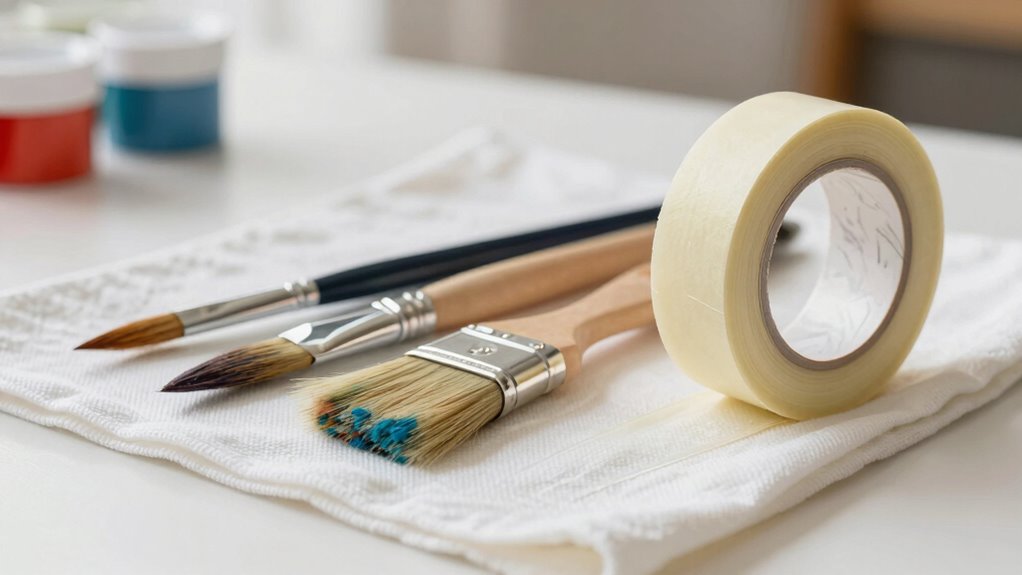
Achieving clean, sharp edges during your painting project depends heavily on selecting the right drop cloths and painter’s tape. Quality drop cloths protect your surfaces from spills and splatters, so choose heavy-duty, woven options that stay in place. For precise edges, painter’s tape is essential; opt for painter’s tape designed for clean removal and minimal bleed-through. Blue painter’s tape is a popular choice for most projects, but consider painter’s tape with higher adhesion for tricky surfaces. Applying the tape carefully along the edges ensures sharp lines and prevents paint from seeping where it shouldn’t. Using the right drop cloths and painter’s tape makes your project look more professional, saving you time and frustration while delivering a polished finish. Additionally, selecting appropriate adhesive strength in painter’s tape can help prevent damage when removing it after painting. Choosing the right tools can also enhance your results and make the entire process smoother. Incorporating advanced nanotechnology coatings into your painting supplies can further improve adhesion and durability.
Tips for Using Paint Sprayers to Achieve a Professional Look

To get professional-looking results with a paint sprayer, proper preparation and technique are key. Before starting, verify your spray gun is well-maintained; regular spray gun maintenance prevents clogs and ensures smooth operation. Practice consistent, even strokes to avoid streaks and uneven coverage. When mixing paint, use proper paint mixing techniques—thin the paint if needed and stir thoroughly to achieve a smooth, uniform consistency. Keep the sprayer at a steady distance from the surface, typically around 6 to 12 inches, and move in smooth, overlapping passes. Adjust the spray pattern and pressure as necessary to suit the project. Additionally, understanding sprayer calibration can help you optimize performance and achieve a flawless finish, mimicking professional results even if you’re new to painting with a sprayer. Controlling airflow and temperature in your workspace can also improve your spraying conditions and final appearance. Proper paint viscosity is essential for a smooth, even application and prevents issues like drips or uneven coverage. Ensuring adequate ventilation during spraying can also help the paint dry evenly and reduce fumes, contributing to a better finish and safer working environment.
Must-Know Cleaning and Maintenance Tools for a Long-Lasting Paint Job

Maintaining your painting tools is essential for ensuring a long-lasting and professional-quality finish. Proper paint prep involves cleaning brushes, rollers, and sprayers immediately after use to prevent dried paint buildup. Use the right cleaning tools, like brush combs and solvent containers, to keep tools in top condition. Regularly inspecting your tools allows you to catch damage early, saving you money and effort. Tool storage also plays a critical role; storing brushes and rollers properly in airtight containers or hanging them prevents dust and debris from contaminating your work. Well-maintained tools not only improve the quality of your paint job but also extend their lifespan, making future projects easier and more efficient. Keep your tools clean and organized for consistently professional results. Additionally, understanding the importance of tool maintenance can help you achieve optimal performance and durability from your painting equipment. Proper care and equipment longevity are vital for getting the most out of your investment in painting tools. Regularly practicing proper cleaning techniques ensures that your tools remain in excellent condition over time. Remember that cleaning frequency directly impacts the effectiveness of your maintenance routine and the overall quality of your work.
How to Select the Right Tools for Different Surfaces and Projects
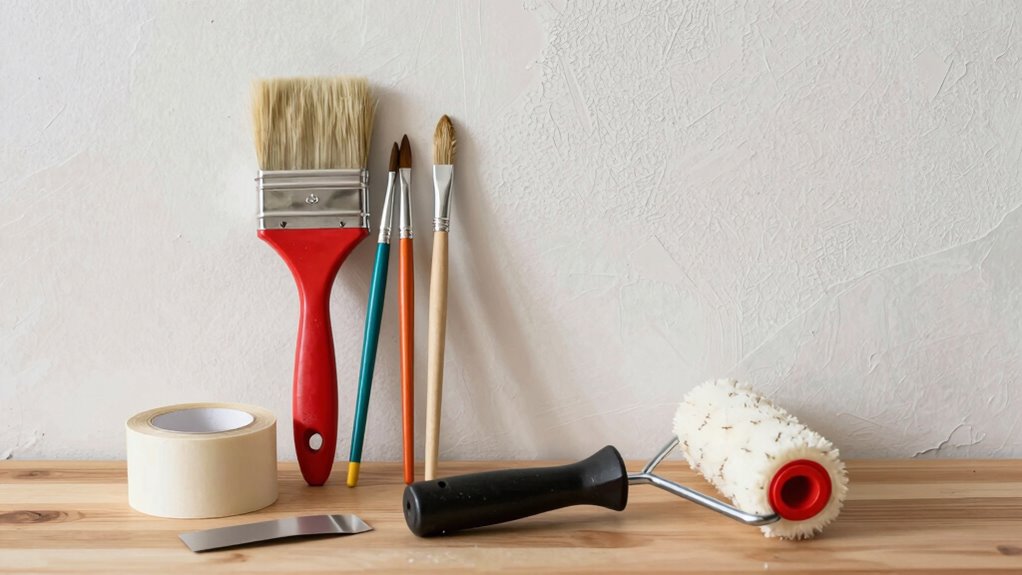
Choosing the right tools for different surfaces and projects is essential to achieving a smooth, professional finish. Your selection impacts how well the paint adheres, the overall look, and the time spent on surface preparation. Consider your color schemes and the texture of each surface—smooth walls, textured ceilings, or rough wood all require different tools. Proper surface preparation, like cleaning or sanding, ensures paint sticks evenly. To get started, keep in mind:
Choosing the right tools ensures a flawless, professional paint finish tailored to each surface.
- Use angled brushes for detailed edges and trim work
- Opt for rollers with appropriate nap lengths based on surface texture
- Select brushes and rollers suited for water-based or oil-based paints
- Incorporate painter’s tape to protect edges and achieve clean lines
- Understanding surface fundamentals helps in choosing the most suitable tools for each project. Being aware of paint compatibility also ensures that your chosen tools work effectively with the type of paint you’re using. Matching tools to your surface and project type guarantees a professional-looking result, especially when selecting tools designed for different surface textures.
Frequently Asked Questions
How Can I Prevent Brush Marks for a Smoother Finish?
To prevent brush marks and achieve a smoother finish, focus on your brush technique by using light, even strokes and avoiding heavy pressure. Make sure your paint has the right consistency—thin it slightly if it’s too thick. Work quickly but carefully, maintaining a wet edge, and don’t overbrush. These steps help distribute paint evenly and reduce visible strokes, giving you a professional-looking result even as a DIYer.
What Safety Gear Should I Use When Operating Paint Sprayers?
When operating paint sprayers, you should wear protective eyewear to shield your eyes from splatters and debris, and respiratory masks to avoid inhaling harmful fumes and overspray. Make certain your protective gear fits well and is rated for painting projects. Always work in a well-ventilated area, and follow safety instructions on the equipment. Taking these precautions helps keep you safe while achieving a professional-looking finish.
How Do I Choose the Right Paint for Different Surfaces?
Imagine your brush gliding smoothly over a surface, the right paint enhancing its natural texture. To select the right paint, consider the surface finish you want—glossy, matte, or satin—and match it to the material. Surface preparation is key; clean and sand rough areas. For wood, latex or oil-based paints work best, while for metal and plastic, use specialty paints designed for those surfaces to guarantee durability and a professional look.
Can I Use the Same Tools for Interior and Exterior Painting?
You can’t always use the same tools for interior and exterior painting because tool compatibility varies, and surfaces require different preparation. For example, exterior surfaces often need more durable brushes or rollers that handle weather-resistant paints, while interior surfaces may only need finer tools for smoother finishes. Always clean and prep your tools properly to maintain their effectiveness, and choose the right tools based on the surface’s specific needs.
What Are Common Mistakes to Avoid With DIY Painting Tools?
You should avoid common mistakes like neglecting paint roller maintenance, which can cause uneven coverage. Always clean your tools thoroughly after each use to guarantee they last and perform well. Additionally, don’t rush paint color selection; choose shades that complement your space and lighting. Taking your time with preparation and tool care helps you achieve a professional look, even if you’re a DIY beginner.
Conclusion
With the right tools in hand, your paint job transforms into a crisp, professional finish that turns your space into a masterpiece. Imagine clean lines hugging every corner, smooth coats gleaming under the light, and the satisfaction of a job well done. When you choose quality brushes, flawless rollers, and proper prep gear, you’re not just painting — you’re creating a space that reflects skill and care. Now, step back and admire your work—your home deserves it.