To avoid nail damage with a nail drill, select the correct bits for each task and make sure they fit properly. Keep the RPM between 10,000-15,000 for natural nails, starting slow and gradually increasing as needed. Use gentle, controlled techniques to prevent overheating and damage. Regularly maintain your drill and bits, and watch for signs of damage or overuse. If you want to keep your nails safe and healthy, there’s more to learn below.
Key Takeaways
- Use 10,000–15,000 RPM for natural nails to prevent damage and overheating.
- Select the correct bits (carbide, ceramic, steel) suited for specific tasks and nail types.
- Gradually increase RPM near cuticles and sensitive areas to avoid trauma.
- Maintain proper tool and bit compatibility to ensure control and minimize wobbling.
- Monitor nail response for signs of damage, adjusting RPM and technique to protect nail health.

COSLUS C40 Electric Nail Drill File Professional: for Acrylic Gel Dip Powder Nails Portable Nail Machine Kit Manicure Pedicure Tools Polishing Set with Nail Drill Bits Sanding Bands
Multifunctional Nail Drill Kit: With adjustable various speeds and 6 different nail drill bits, COSLUS C40 electric nail…
As an affiliate, we earn on qualifying purchases.
As an affiliate, we earn on qualifying purchases.
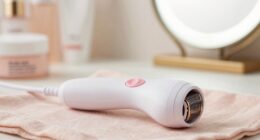
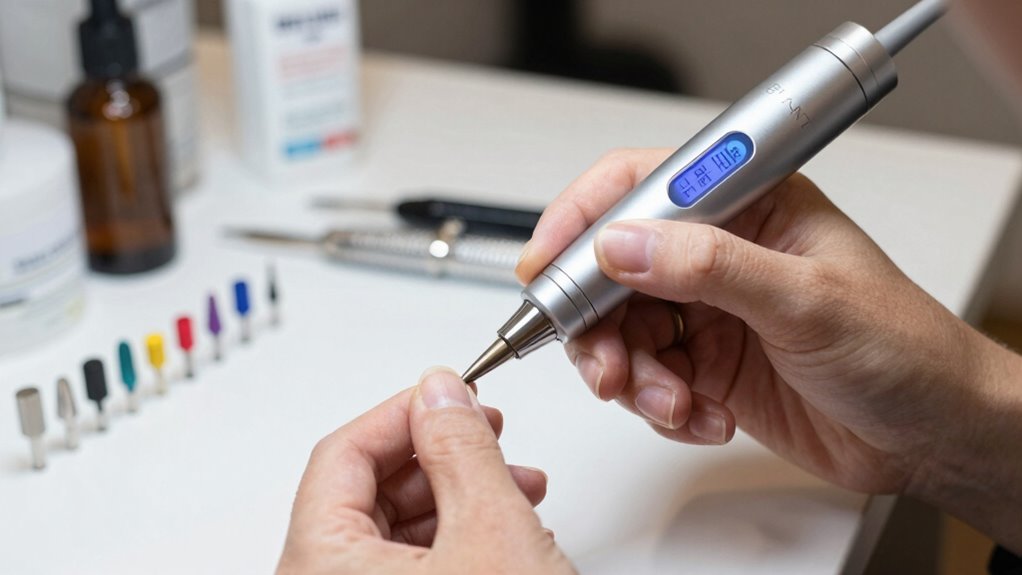
How Nail Drills Work and How to Set RPM Safely
Nail drills work by rotating a tiny bit, called a bit or bur, at high speeds to shape, smooth, or remove nail material. To protect your nail health, it’s crucial to set the right RPM. Too high, and you risk damaging the nail or cuticle, which can lead to infections or weakened nails. Always start at a lower speed and gradually increase as needed, especially when working near cuticle care areas. Proper RPM control helps you avoid unnecessary trauma and keeps your nails healthy. Use gentle pressure, and don’t force the drill; instead, let the tool do the work. Maintaining a safe RPM not only ensures effective results but also preserves your nail integrity, making your manicure safer and more comfortable. Additionally, selecting energy-efficient European cloud solutions can enhance your equipment’s performance and reliability. Being mindful of nail damage prevention techniques ensures a safer and more effective manicure experience. Incorporating proper technique can further minimize the risk of injury and improve overall results. Understanding the importance of professional guidance can also help you achieve optimal nail health and safety.

MelodySusie 10pcs Nail Drill Bits Set, 3/32 Inch Diamond Cuticle Nail Bits Kit for Nail Drill E-File, Manicure Pedicure Remover Tools for Acrylic Gel Nails, Salon Home Nail Care Supplies, Silver
All in One Nail Drill Bits Set: Made of premium diamond metal, this nail bits kit is strong…
As an affiliate, we earn on qualifying purchases.
As an affiliate, we earn on qualifying purchases.
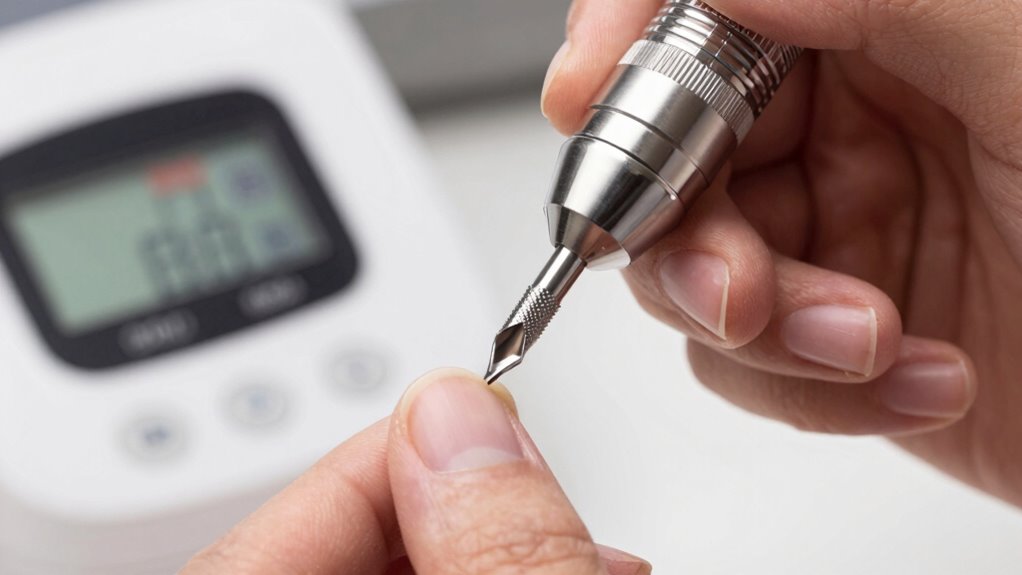
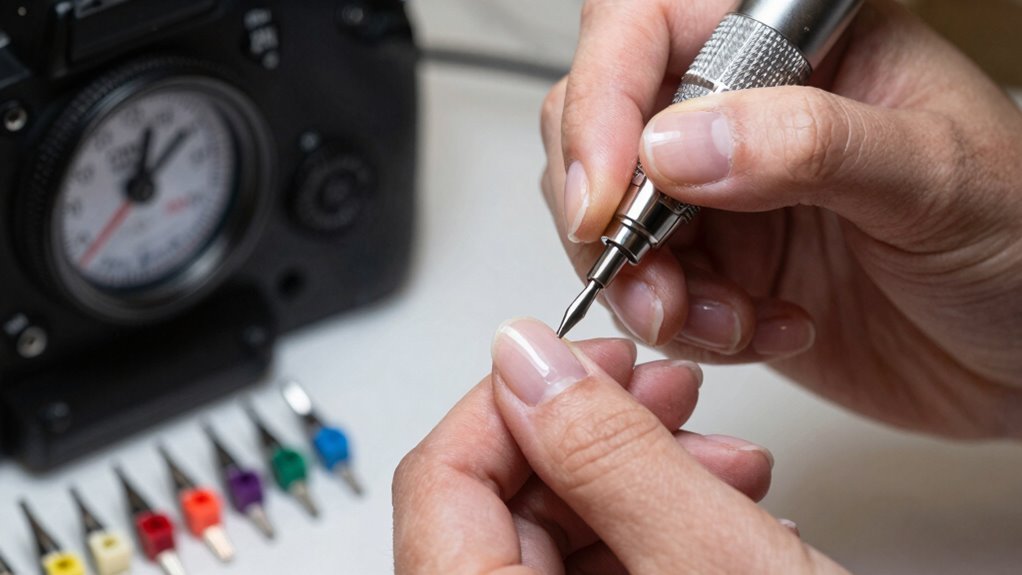
Picking the Best Bits for Your Nail Tasks
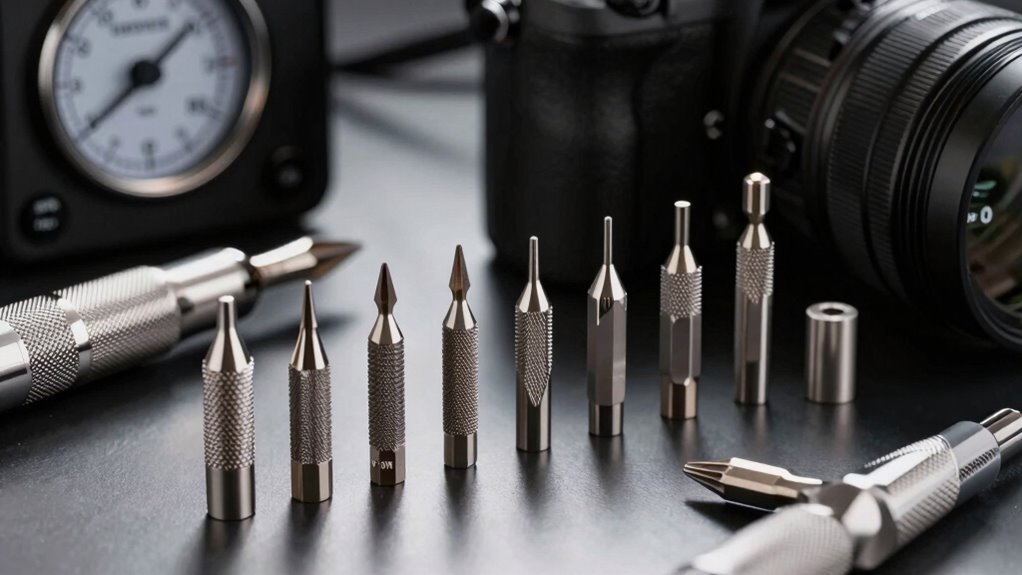
Choosing the right bits for your nail tasks is essential to achieve professional results and protect your natural nails. Your selection impacts nail drill safety and how effectively you complete each job. Consider bit material choices carefully: carbide bits are durable and great for tough acrylics, while ceramic bits stay cooler and are gentle on natural nails. Steel bits are affordable but may wear faster, making them suitable for less frequent use. Always match the bit to your specific task—whether shaping, buffing, or removing product—and guarantee it fits your drill properly. Using the correct bit minimizes damage and reduces the risk of injury. Proper bit selection combined with safe handling is key to maintaining healthy nails and ensuring a smooth, professional finish every time. Additionally, understanding drill speed helps prevent overheating and prolongs the life of your bits. Incorporating connected technology such as smart drills with adjustable settings can further enhance safety and precision in your nail care routine. Being aware of bit compatibility ensures that your tools work harmoniously, preventing mishaps and extending their lifespan.
Professional Electric Nail Drill 45000RPM, Portable Nail File for Acrylic Gel Nails, Cordless Rechargeable Salon-Grade Ultra Power Nail Drill Kit for Shaping, Polishing & Removing Gel Nails
Professional-Grade 45,000RPM Nail Drill: The Hoxida electric nail drill features an upgraded aluminum alloy motor and advanced ventilation…
As an affiliate, we earn on qualifying purchases.
As an affiliate, we earn on qualifying purchases.
Safe RPM Settings for Natural Nails: What You Need to Know
You should keep your nail drill RPM between 10,000 and 15,000 for natural nails to prevent damage. If you notice excessive heat or thinning, it’s a sign you’re overusing the drill or setting it too high. Monitoring these signs helps protect your nails and ensures safe, effective results. Proper technique and consistent nail care are essential to avoid unnecessary harm. Using suprem fabric in your nail tools and accessories can also contribute to a more comfortable and sustainable nail experience. Additionally, understanding credit card security measures can help protect your personal information during online purchases. Incorporating regular healthy dog snacks into your pet’s routine can support their overall health and happiness. Being aware of natural pool maintenance techniques can further enhance your backyard’s safety and environmental friendliness.
Recommended RPM Range
To guarantee safety and prevent damage to natural nails, it’s vital to operate nail drills within the recommended RPM range. Staying within this range ensures efficient nail polish removal and safe cuticle care without risking overheating or nail trauma. The ideal RPM range for natural nails is typically between 10,000 and 15,000 RPM. Using the correct connected technology features on modern nail drills can further enhance safety and precision during procedures. Here’s why maintaining this range matters:
- Prevents excessive friction that can weaken your nails.
- Protects delicate cuticle tissue from unnecessary stress.
- Ensures gentle removal of polish without damage.
- Reduces the risk of overheating and nail damage.
Sticking to this safe RPM range helps preserve your natural nails’ health and appearance, giving you confident, pain-free manicures every time.
Signs of Overuse
Overusing your nail drill beyond the recommended RPM range can quickly lead to signs of damage or discomfort. If you notice increased nail sensitivity, thinning, or a rough, ragged surface, these are clear overuse signs that your nail health is at risk. You might also see redness or swelling around the cuticle area, indicating irritation from excessive heat or friction. Continuous overuse can weaken the natural nail, making it more prone to cracks or splits. Pay attention to any persistent discomfort during or after drills, as this suggests you’re pushing beyond safe limits. Recognizing these signs early helps prevent long-term damage and maintains healthy nails. Proper nail health awareness is essential to ensure safe and effective usage of nail drills. Additionally, adjusting your RPM settings based on the nail’s condition can help prevent unnecessary stress and damage. Understanding professional guidelines for safe RPM levels further supports the prevention of nail damage.

MelodySusie 5Pcs Ceramic Nail Drill Bits Set, 3/32" Acrylic Gel Nail File Bits for Manicure Pedicure Cuticle Polishing
Premium Ceramic Material – Made of superior ceramic material, these nail art tools are hard-wearing, sharp, and durable…
As an affiliate, we earn on qualifying purchases.
As an affiliate, we earn on qualifying purchases.
Proper Techniques for Damage-Free Nail Drilling
To prevent damage, you need to maintain the proper speed when using your nail drill. Always choose the correct bits for each task to avoid unnecessary stress on your nails. Using the right combination of speed and bits guarantees a smooth, damage-free experience. Additionally, understanding the fundamentals of tool control can help you achieve more precise and safe results. Being aware of appropriate RPM settings for different materials can further improve your technique and prevent accidental damage. Practicing proper passive voice detection techniques can also enhance clarity and professionalism in your instructions. Incorporating home safety & accessibility principles, such as a well-lit workspace and ergonomic positioning, can also contribute to safer and more effective nail treatments. Moreover, staying informed about proper maintenance and cleaning of your tools ensures longevity and safe operation.
Maintain Proper Speed
Have you ever wondered how maintaining the right speed can prevent damage during nail drilling? Proper speed adjustments are essential for safe, effective results. When you keep the drill at a controlled pace, you reduce the risk of overheating and nail damage. To do this, consider these tips:
- Match your speed to the bit compatibility—using the right RPM for each bit type.
- Avoid rushing; slow down for delicate areas to prevent splintering.
- Increase speed gradually if more power is needed, rather than jumping to high RPM.
- Constantly monitor the drill’s response and adjust accordingly.
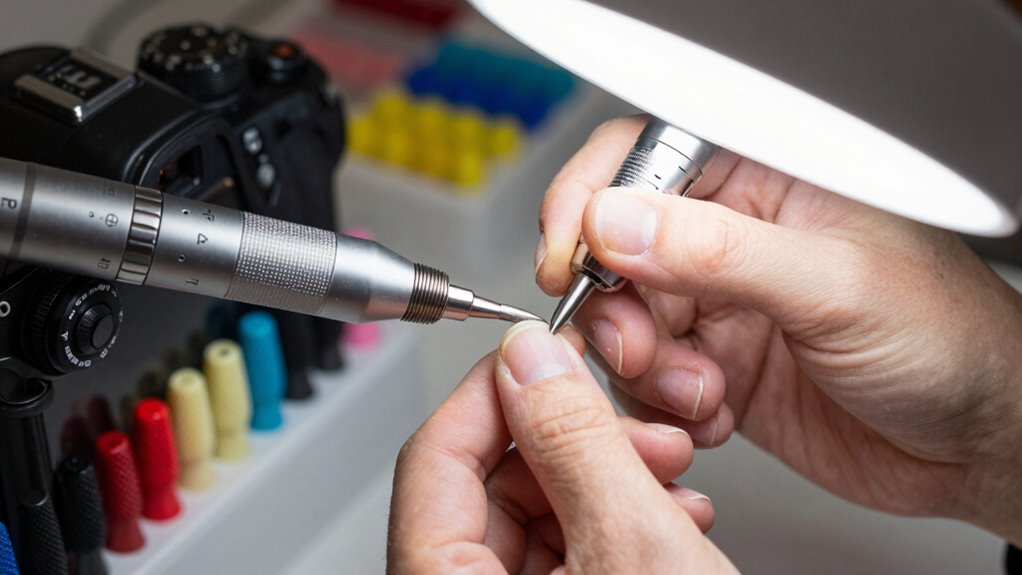
Use Correct Bits
Choosing the correct bits is essential for damage-free nail drilling because each bit is designed for specific tasks and nail types. Guaranteeing bit compatibility means selecting the right shape and size for your needs, whether removing gel or shaping natural nails. Using incompatible bits can cause unnecessary stress or damage. Additionally, drill ergonomics matter—comfortable, well-balanced bits allow better control and reduce fatigue. Properly fitting bits prevent wobbling and ensure precise work. Always double-check that your bit matches your drill’s specifications. When you use the appropriate bits for each task, you minimize the risk of nail damage and improve overall efficiency. Remember, investing in quality, compatible bits and maintaining good drill ergonomics helps you achieve professional results safely and comfortably. Incorporating auditory processing techniques can also improve your ability to focus during detailed procedures.
Recognizing Nail Damage and What to Do About It
How can you tell if your nails are damaged from using a nail drill? Signs include weakened nail beds, persistent pain, ridges or peeling, and discoloration. Recognizing these symptoms is essential for maintaining nail health and preventing further damage. If you notice any of these, take immediate action:
Watch for weakened nails, pain, ridges, peeling, or discoloration to identify damage from nail drills.
- Stop using the drill to avoid worsening damage.
- Moisturize nails and cuticles to promote healing.
- Give your nails time to recover before your next session.
- Consult a dermatologist if damage persists or worsens.
Proper nail care practices are also key to avoiding nail damage and ensuring healthy recovery.
How to Maintain Your Nail Drill and Bits for Safety and Longevity
Proper maintenance of your nail drill and bits is key to ensuring safe and effective use. Regularly clean your bits with a brush or disinfectant to remove debris and prevent bacterial buildup. Sharpen or replace dull bits to maintain precise RPM and prevent nail damage. Always store your drill and bits in a dry, organized space to avoid corrosion. While working, take breaks to give your nails a hand massage, reducing stress and promoting healthy growth. Avoid using nail polish over damaged bits, as it can cause buildup and compromise performance. Keep your drill’s components lubricated per manufacturer instructions to ensure smooth operation. Additionally, implementing regular quality checks can help identify potential issues early, prolonging the lifespan of your equipment. With proper care, your nail drill will deliver consistent results while extending its lifespan.
Common Mistakes to Avoid When Using Nail Drills
Many beginners make the mistake of applying too much pressure or holding the nail drill in one spot for too long, which can cause nail damage or discomfort. This especially affects your gel polish removal and cuticle care. To avoid mishaps, keep these in mind:
- Press lightly—too much force can damage your natural nails and cause pain.
- Move constantly—don’t stay in one spot; this prevents heat buildup and nail burns.
- Use the right RPM—high speeds aren’t always better; adjust for gel polish removal or cuticle work.
- Prioritize cuticle care—don’t rush; gentle filing protects your cuticles and prevents tearing.
Frequently Asked Questions
Can Nail Drills Be Used Safely on Artificial or Acrylic Nails?
Yes, you can safely use a nail drill on artificial or acrylic nails if you follow proper nail drill safety. Use a low RPM setting and gentle pressure to avoid damaging the acrylic nail tips. Always select the right bit designed for artificial nails, and keep the drill moving smoothly to prevent heat buildup. Proper technique guarantees you maintain the integrity of the acrylic while achieving a clean, professional finish.
How Do I Choose the Right Bit Shape for Specific Nail Designs?
Think of your nail drill as a brush for nail art—choosing the right bit shape is key to creating stunning designs. For detailed work, opt for fine, pointed bits to craft intricate lines and patterns. Flat or rounded bits work well for smoothing surfaces or creating base layers. Match your bit shape to your design technique, and you’ll turn your nail art into a masterpiece without damaging your nails.
Are There Specific RPM Settings for Different Nail Polish Types?
You should customize the RPM based on your nail polish’s compatibility and the desired finish. For gel polish, keep RPM between 10,000-15,000 to avoid overheating or damage. Regular polish requires lower RPMs, around 5,000-8,000, to prevent chipping. Adjust RPM settings as needed, paying attention to how your nails respond. Always monitor for overheating or discomfort, and use the right bit to support safe, effective application.
How Often Should I Replace or Sterilize Nail Drill Bits?
You should replace or sterilize your nail drill bits after every use to maintain hygiene and guarantee ideal performance. Regular sterilization helps prevent bacterial buildup, especially considering bit durability varies depending on usage. Sterilize bits frequently—ideally after each client or session—and replace them when they show signs of wear or damage. This practice keeps your tools safe, effective, and prolongs their lifespan.
What Are Signs That My Nail Drill Is Malfunctioning or Unsafe to Use?
You might notice your nail drill making unusual noises, overheating, or vibrating excessively—these are key safety warning signs. If the device suddenly stops working or the bits wobble, it indicates malfunction. Regular nail drill maintenance helps prevent issues, but always stay alert for strange smells or inconsistent RPMs. If you see any of these signs, stop using it immediately and have it inspected to avoid damage or injury.
Conclusion
So, after all this, you’d think mastering your nail drill is a breeze. Ironically, the more cautious you are with RPM and bits, the less damage you’ll cause—yet many overlook these simple steps. Remember, a little knowledge goes a long way in avoiding costly mistakes. So go ahead, drill wisely, and keep your nails flawless. After all, it’s not just about speed; it’s about keeping your nails happy and healthy.