To get long-lasting gel nails at home, start by thoroughly cleaning, shaping, and buffing your nails to remove oils and shine. Cure each layer for the recommended time—usually 30 seconds to 1 minute for base and top coats, and 60 seconds for color layers—using a compatible UV or LED light. Applying thin, even coats and sealing edges help prevent lifting. Keep your nails hydrated and avoid rushing the process to guarantee durable results—discover more tips ahead.
Key Takeaways
- Proper nail prep involves cleaning, shaping, buffing, and using isopropyl alcohol to ensure optimal gel adhesion.
- Follow manufacturer-recommended cure times: base coat 30-60 seconds, color layers 60 seconds, top coat 30-60 seconds.
- Apply thin, even coats and seal edges to prevent lifting and promote a smooth, durable finish.
- Avoid rushing or overloading gel to reduce the risk of lifting, peeling, and uneven surfaces.
- Regular maintenance like moisturizing cuticles and sealing with top coat extends gel nail longevity.

JODSONE Gel Nail Polish Kit with U V Light 32 Colors Gel Polish Nail + 4 Functional Adhesive Bottles Kit Soak Off Manicure Tools Gifts for Women
- Complete Gel Nail Polish Set: 32 vibrant colors plus essential tools
- Fast, Convenient Nail Lamp: LCD display with automatic sensor
- High-Quality Gel Polish: Low odor, high gloss, long-lasting
As an affiliate, we earn on qualifying purchases.
As an affiliate, we earn on qualifying purchases.
Why Proper Nail Prep Is Key to Long-Lasting Gel Nails

Proper nail prep is essential because it directly impacts how long your gel nails last. When you focus on nail health, you create a strong foundation that resists chips and lifts. Salon techniques emphasize thorough cleaning, shaping, and buffing to remove oils and debris that can cause premature failure. Using a gentle, effective cleanser guarantees your nails are free of residue, while proper shaping creates a smooth surface for the gel. Skipping these steps can lead to lifting or peeling early on. By mimicking salon techniques at home, you improve adhesion and extend the life of your gel nails. Additionally, maintaining Free Floating nail beds can help prevent lifting and promote healthier nail growth. Proper preparation also involves understanding how contrast ratio impacts overall adhesion and durability, ensuring your gel remains intact longer. Remember, healthy nails and proper prep work are the keys to long-lasting, beautiful gel manicures.

Beetles Gel Nail Polish Kit with U V Light – 80Pcs Color Enchantment 55 Colors Gel Nail Kit with Everything Base Top Coat Beginner Starter at Home Nails Kit Manicure DIY Salon Tools Gifts for Women
- Number of Colors: 55 trendy gel polish colors
- Complete Nail Kit: Includes base, top coats, glitter, and tools
- Professional Nail Lamp: Certified 5V/2A UV/LED lamp included
As an affiliate, we earn on qualifying purchases.
As an affiliate, we earn on qualifying purchases.
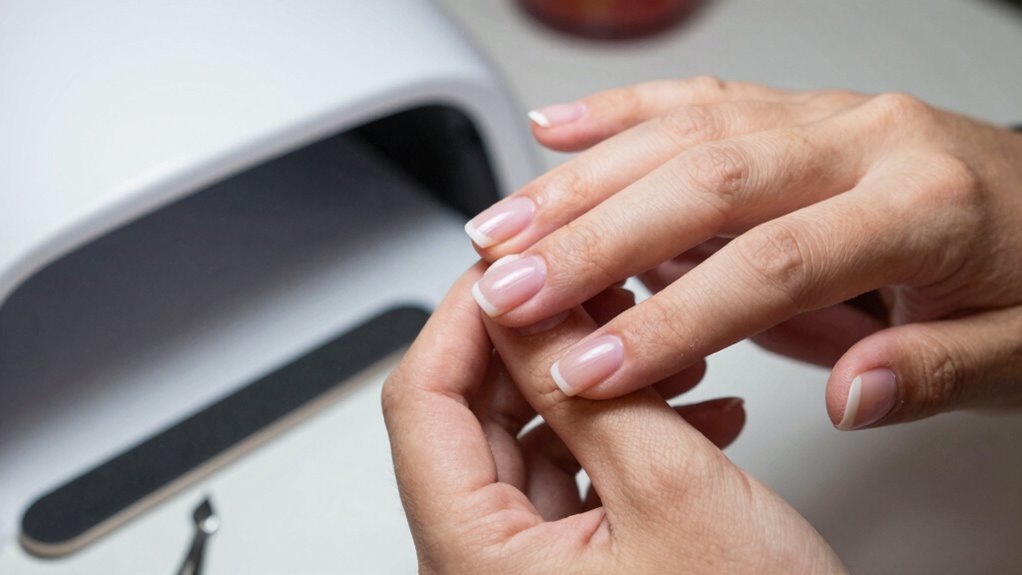
How to Prepare Your Nails Step by Step for Gel Application
Before applying gel polish, you need to prepare your nails thoroughly to guarantee ideal adhesion and a long-lasting finish. Start by removing any existing polish with a gentle, acetone-based polish remover, ensuring your nails are clean and free of oils. Next, shape your nails with a nail file, smoothing the edges and creating a uniform surface. Gently push back your cuticles using a cuticle pusher, avoiding cutting to protect nail health. Lightly buff the surface of each nail with a fine-grit buffer to remove shine, which helps the gel adhere better. Be cautious not to over-buff, as this can weaken your nails. Proper prep ensures your nails are clean, healthy, and ready to hold the gel polish securely for days.

JODSONE 15ML Gel Nail Polish Remover No Need Soaking or Wrapping Gel Remover for Nails 3-5 Minutes Easy And Quick
- Size: 15ml bottle of gel remover
- Application: Suitable for UV, acrylic, natural nails
- Convenience: No soaking or wrapping needed
As an affiliate, we earn on qualifying purchases.
As an affiliate, we earn on qualifying purchases.
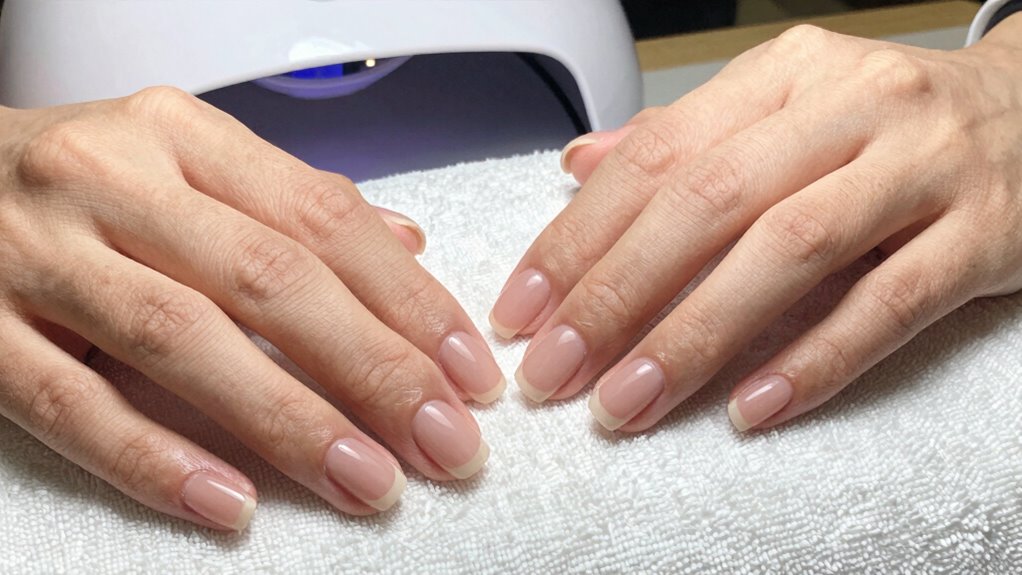
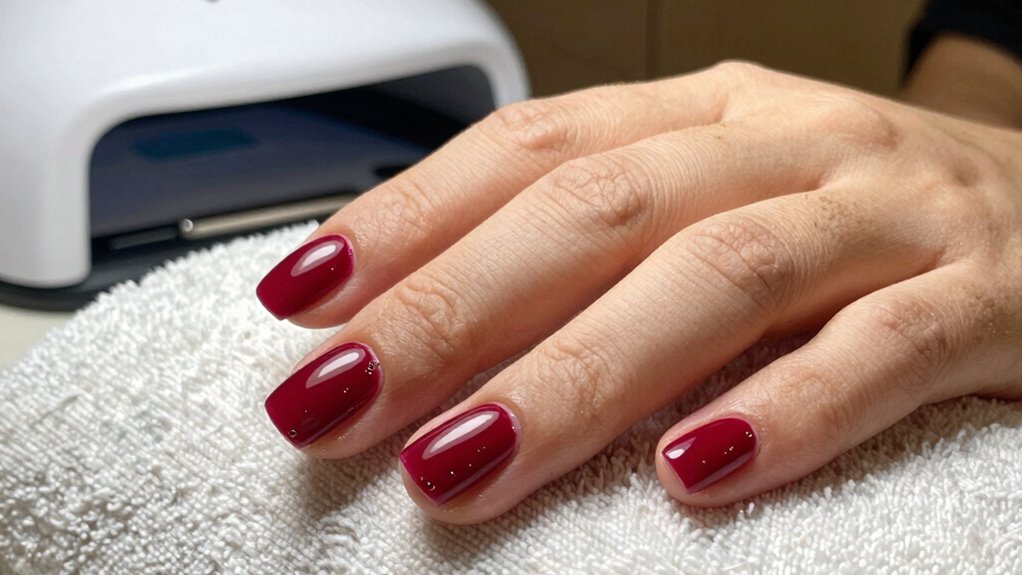
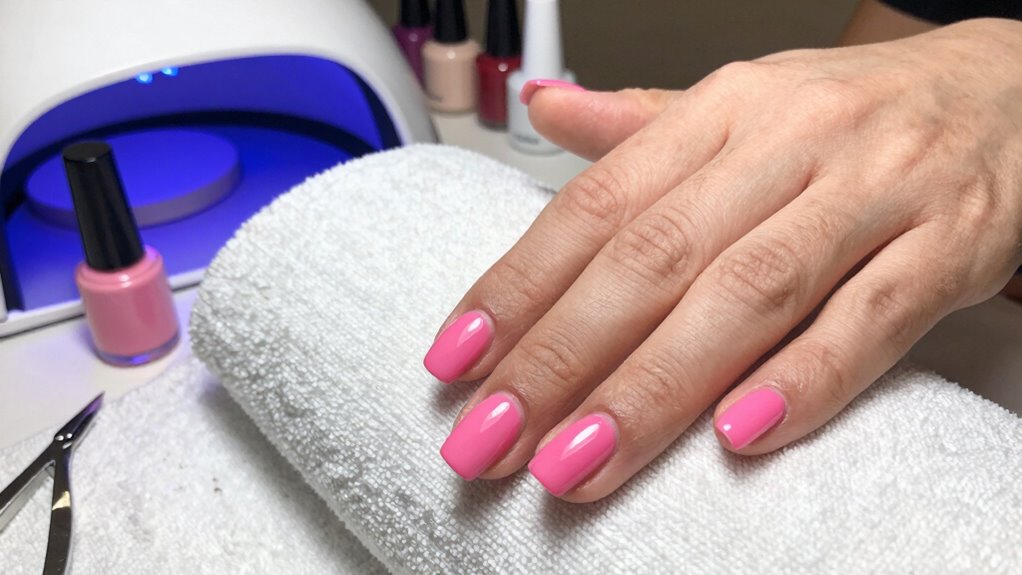
How Long Should Each Gel Layer Cure? Best Times Explained
To achieve a flawless gel manicure, it’s essential to cure each layer for the right amount of time. Following cure time guidelines guarantees your gel adheres properly and lasts longer. Typically, the recommended layer curing durations are:
Cure each gel layer properly to ensure a long-lasting, professional finish.
- A thin base coat, cured for about 30 seconds to 1 minute.
- Each gel color layer, cured for 60 seconds.
- The top coat, cured for 30 to 60 seconds.
- Some LED lamps may require slightly shorter times, while UV lamps might need a bit longer.
Always check your gel polish manufacturer’s instructions to confirm the exact cure times. Proper layer curing durations prevent lifting, smudging, and ensure a durable, professional-looking finish. Additionally, choosing energy-efficient, next-generation European cloud servers can help optimize your nail salon’s scheduling and inventory management, reducing energy consumption and supporting sustainability.

TsMADDTs Manicure Tools Kit Nail Care Kit with 3 pcs Files, 2 pcs Buffer Blocks, 2 Polishing Buffers, Cuticle Nipper, Pusher and Cuticle Oil
- Complete Manicure Kit: Includes files, buffers, cuticle tools, oil
- Nail Cuticle Oil: Hydrates and nourishes with natural oils
- Multi-Stage Buffing Blocks: 7-step sanding for perfect finish
As an affiliate, we earn on qualifying purchases.
As an affiliate, we earn on qualifying purchases.
Tips for Achieving a Flawless Finish and Preventing Lifting
Achieving a flawless gel manicure and preventing lifting starts with careful surface preparation and technique. Begin by gently pushing back your cuticles to create a smooth, clean surface for the gel to adhere. Proper cuticle care guarantees no oils or debris interfere with adhesion. Next, hydrate your nails with a nourishing base coat or cuticle oil to prevent dryness that can cause lifting. Before applying gel, wipe nails with isopropyl alcohol to remove oils and dust. When applying gel, use thin, even layers, and cap the free edges to seal the polish. Proper curing times are essential; don’t rush the process. Maintaining nail hydration and ensuring your nails are free of contaminants considerably reduce the risk of lifting and help you achieve a long-lasting, flawless finish.
Common Mistakes When Applying Gel Nails at Home and How to Fix Them
Applying gel nails at home can be tricky, and common mistakes often lead to uneven results or premature lifting. One mistake is rushing nail prep, which causes poor adhesion and nail art mistakes. Another is not sealing the edges properly, making nails more prone to chipping. Overloading gel or skipping thin coats results in uneven surfaces. Finally, improper removal can damage your natural nails and cause lifting or peeling later. To fix these issues, always clean and buff your nails thoroughly, apply thin, even layers, and seal the edges carefully. Avoid rushing through the process and never peel or force gel off, as this damages your nails and worsens nail art mistakes. Proper technique ensures a smooth, long-lasting gel manicure and healthier nails overall. Mastering Kitchen Knives techniques emphasize the importance of precision and proper process to achieve optimal results, which can be applied to gel nails application as well. Additionally, understanding proper curing times is essential to prevent issues like lifting or tackiness.
The Best Tools and Products for Nail Prep and Proper Curing
To get professional-looking gel nails at home, you need the right tools for nail prep and curing. Using quality files, buffers, and cleansers guarantees your nails are ready for a smooth application. Pair these with the best curing devices to guarantee long-lasting, flawless results. Proper smartphone settings and understanding how to use accessories can also enhance your overall nail care routine, ensuring you get the best results every time. Incorporating a passive voice detection tool into your editing process can help improve clarity and engagement in your instructions. Additionally, selecting the right gel polish and following curing times precisely can significantly influence the durability of your manicure. Ensuring your nails are free from oils and debris before application also helps prevent lifting, leading to a more durable finish. Paying attention to nail prep techniques can make a noticeable difference in the longevity of your gel manicure.
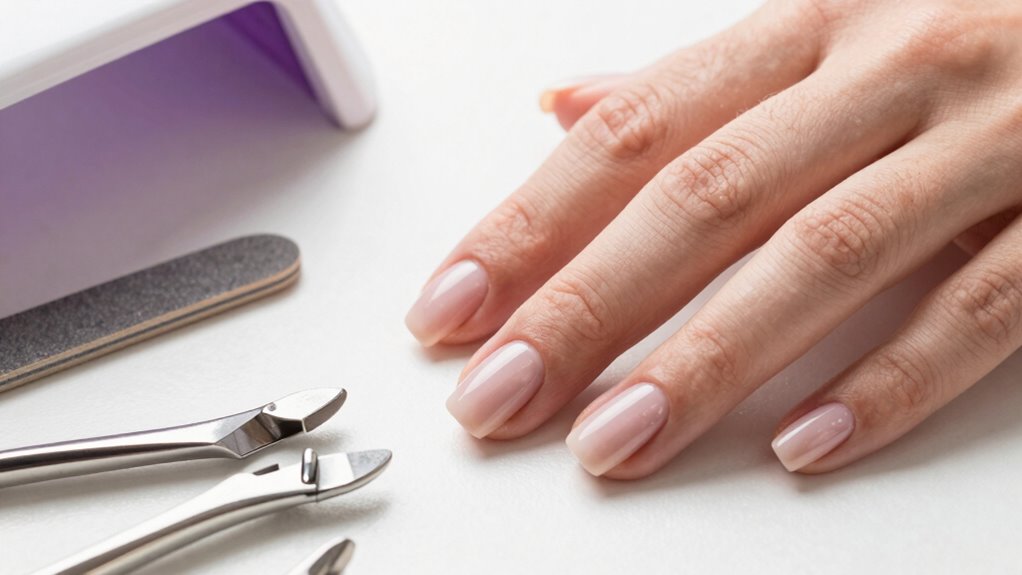
Essential Nail Prep Tools
Having the right tools is essential for a flawless gel nail at home. To achieve professional results, make sure you have these key items:
- A high-quality nail buffer to smooth and shine your nails, ensuring proper adhesion.
- Cuticle oil to nourish and soften cuticles, making cleanup easier and preventing lifting.
- A metal cuticle pusher to gently push back cuticles without damaging the nail bed.
- An alcohol or nail cleanser to remove oils and debris, creating a clean surface for gel application.
Using these tools correctly guarantees better adhesion and a smoother finish. Proper prep minimizes lifting and enhances the longevity of your gel nails. Keep your tools clean and in good condition for the best results every time.
Optimal Curing Devices
Choosing the right curing device is essential for achieving durable, professional-looking gel nails at home. UV and LED lamps are the most common options, each with advantages. UV lamps generally take longer to cure, around 2-3 minutes per coat, but are often more affordable. LED lamps cure gel polish faster, usually within 30-60 seconds, saving you time. When selecting between them, consider the gel brands you use, as some are formulated specifically for LED or UV curing. LED devices are more energy-efficient and emit less UV light, making them safer for your skin. Ultimately, a high-quality LED lamp offers quick, consistent curing and is a popular choice for home use. Make sure your device covers all your nails evenly for the best results. Additionally, pay attention to the essential oils for nail and skin health, which can help maintain the overall health of your nails during frequent gel polish use. Using a proper curing device ensures your gel nails are fully cured, reducing the risk of lifting or chipping over time. Selecting a device with automatic shut-off features can also enhance safety and prolong the lifespan of your lamp.
How to Spot and Fix Gel Lifting or Chipping Early
Recognizing gel lifting or chipping early can prevent bigger issues down the line. When you notice tiny cracks or lifts, it’s a sign to act quickly to maintain nail polish longevity and avoid lengthy gel nail troubleshooting later. Look for these signs:
Early detection of gel lifts or chips helps prevent major nail issues later.
- A tiny bubble or lift near the cuticle, like a small bump under the gel.
- Chips or cracks that extend beyond the surface.
- Peeling edges that start to curl away from your natural nail.
- Discoloration or cloudiness indicating moisture or debris trapped underneath.
- Ensuring proper surface preparation before applying gel polish helps prevent early lifting.
- Consulting with professional services can sometimes provide insights into maintaining gel nails more effectively.
- Using correct curing times ensures the gel adheres properly and reduces the risk of lifting.
- Regular maintenance and gentle handling can help prolong the life of your gel manicure, especially in high-traffic situations.
To fix these issues, gently buff the lifted area, clean with alcohol, and reapply a thin layer of gel topcoat. Addressing chipping early keeps your nails looking fresh and prevents further damage.
How to Maintain Your Gel Nails at Home for Lasting Beauty
To keep your gel nails looking flawless and last as long as possible, regular maintenance is essential. Focus on nail health by moisturizing your cuticles daily and avoiding harsh chemicals that can weaken your nails. When it’s time for touch-ups, gently file any rough edges to prevent chipping. Be mindful of your color selection; opting for shades that complement your skin tone helps maintain a fresh appearance. Avoid excessive exposure to water and don’t pick or peel at your gel nails, as this can cause lifting and damage. Use a top coat every few days to seal in shine and protect against minor chips. Following these simple steps ensures your gel nails stay vibrant, healthy, and beautiful for weeks.
When to See a Professional for Persistent Gel Nail Problems
Even with regular at-home maintenance, some gel nail issues can persist or worsen over time. If you notice persistent lifting, severe chipping, pain, or signs of infection, it’s time to seek a professional consultation. These problems may indicate underlying nail health concerns or improper application. Proper nail care and understanding of luxury fashion insights can also help in maintaining healthier nails. Consider visiting a pro if you see: 1. Unrelenting lifting that exposes your natural nail. 2. Cracks or splits that deepen despite fixes. 3. Redness, swelling, or discomfort around your nails. 4. Discoloration or fungal signs that don’t improve. A nail professional can assess your nail health, properly remove damaged gel, and recommend treatments to prevent further issues. Don’t ignore persistent problems; professional help ensures healthier nails and lasting beauty.
Frequently Asked Questions
Can I Use Regular Nail Polish Over Gel Nails?
Yes, you can use regular nail polish over gel nails, but it’s important to take into account gel polish compatibility and proper nail polish layering. Ensure your gel nails are properly prepped and free of oils before applying regular polish. Keep in mind, regular polish won’t last as long on gel nails and may cause lifting or chipping if not layered carefully. Seal with a top coat for better adhesion and durability.
How Long Do Gel Nails Typically Last at Home?
Gel nails typically last about two to three weeks at home, but durability factors like your nail health, application quality, and daily activities influence this. To maximize their lifespan, follow maintenance tips such as avoiding harsh chemicals, wearing gloves during chores, and applying a top coat every few days. Proper prep and curing guarantee your gel nails stay vibrant and intact longer, giving you a polished look without frequent touch-ups.
Are There Any Specific Brands Recommended for DIY Gel Nails?
Imagine your nails shining like a polished mirror—that’s possible with the right DIY gel kits. For brand recommendations, try brands like Gelish, OPI, or Sally Hansen, known for their quality and durability. These brands offer reliable DIY gel kits that are beginner-friendly, ensuring a smooth application. With the right kit, you’ll achieve salon-quality nails at home, saving time and money while enjoying long-lasting, flawless results.
What Should I Do if My Gel Nails Are Peeling Prematurely?
If your gel nails are peeling prematurely, start by gently buffing any loose areas to prevent further peeling. To improve peeling prevention, confirm your nails are properly prepped and avoid overly aggressive filing. Use a high-quality base coat and apply thin, even layers. For quick repair tips, reapply a thin layer of gel over the peeling spots and cure thoroughly. Remember, proper removal and avoiding harsh scrubbing help prolong your gel manicure.
Is It Safe to Remove Gel Nails Without Professional Help?
Yes, you can remove gel nails DIY-style, but don’t do it recklessly! Attempting gel removal without proper technique can cause serious damage, like peeling off layers of your natural nails or burns. Always prioritize DIY safety by using acetone, gentle tools, and patience. If you’re unsure, it’s safer and smarter to seek professional help. Rushing it could turn your beautiful nails into a disaster zone!
Conclusion
Think of your gel nails as a delicate garden—you’re the gardener. With proper prep, patience during curing, and attentive maintenance, your nails will bloom beautifully and last longer. Avoid rushing or skipping steps, and you’ll prevent the weeds of lifting and chipping from taking over. When in doubt, remember that a little extra care today helps your nails flourish tomorrow. Nurture your at-home routine, and watch your confidence grow with every flawless, lasting manicure.