
To make license plates clearly visible on your 4K dash cam, guarantee you set the highest resolution and adjust exposure to prevent darkness or glare. Use a fast frame rate and the right shutter speed to capture moving plates sharply. Focus carefully and consider enabling image stabilization for steady footage. Position your camera for an unobstructed, direct view, avoiding bright reflections. Keep testing and fine-tuning these settings to get the best results—if you keep reading, you’ll find out how to optimize it all.
Key Takeaways
- Use high resolution (4K) settings combined with optimal focus and stabilization for maximum license plate clarity.
- Adjust exposure and enable HDR to balance bright and dark areas for clear plate visibility.
- Set a low ISO in daylight and increase in low light; fine-tune shutter speed for sharp motion capture.
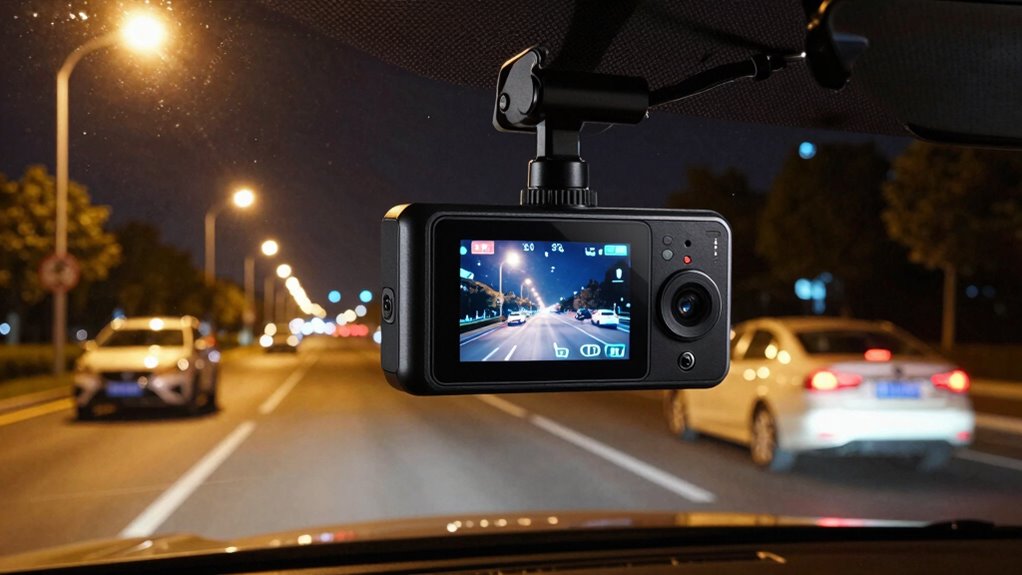
- Mount the dash cam securely with a clear, direct view of plates, minimizing glare and reflections.
- Regularly clean the lens and review footage to ensure consistent readability across different conditions.
Why 4K Resolution Is Key for License Plate Clarity
Because license plates are often small and difficult to read from a distance, having a dash cam with 4K resolution makes a significant difference. Higher resolution guarantees every detail, especially license plate characters, is captured clearly, even at high speeds or from afar. When choosing a 4K dash cam, you need to take into account hardware compatibility, making sure your device can handle the increased data processing and storage. Additionally, understanding legal considerations is vital; some regions have specific requirements for dash cam footage, especially regarding clarity for evidence. Investing in a 4K dash cam not only improves license plate readability but also helps you stay compliant with laws. This way, you’ll have reliable footage that can stand up in legal or insurance situations. To ensure your dash cam performs optimally, consider trusted businesses and services near you that specialize in automotive electronics and dash cam installations. Moreover, selecting the right video resolution settings can further enhance the clarity of license plates in various lighting conditions. Recognizing the importance of contrast ratio can also help in capturing clear images under different lighting environments. Additionally, choosing a dash cam with advanced image processing capabilities can further improve overall image clarity in challenging conditions, especially when dealing with low-light scenarios.
How to Adjust Exposure Settings on Your Dash Cam for Better Readability
To improve readability, start by adjusting the exposure level on your dash cam so images aren’t too dark or washed out. Using HDR mode can also help balance light and shadow in challenging conditions. Additionally, optimizing ISO settings guarantees your footage remains clear without excessive grain or noise. Incorporating connected appliances can further enhance your setup by providing real-time adjustments and better integration with your vehicle’s systems. Ensuring your dash cam has advanced image processing capabilities can significantly improve plate readability in various lighting conditions. Moreover, selecting high-quality sensors designed for low-light environments can boost clarity and detail in difficult scenarios. For those seeking a comprehensive upgrade, investing in models with trusted reputation can ensure consistent performance and reliability.
Adjust Exposure Level
Adjusting the exposure level on your dash cam is essential for capturing clear footage in various lighting conditions. Proper exposure guarantees details like license plates are readable, especially in tricky lighting. Start by ensuring your camera mounting position minimizes glare and reflections that can affect exposure. Before adjusting, clean the lens thoroughly; dust or smudges can distort images and hinder readability. Most dash cams allow you to manually set the exposure or brightness level in the settings menu. Increase exposure in low-light conditions to brighten the footage, but avoid overdoing it, which can cause glare or washout. Conversely, reduce exposure in bright conditions to prevent overexposure. Fine-tuning these settings helps your dash cam produce clearer, more legible recordings, regardless of time of day or lighting environment. Additionally, understanding the factors contributing to the bitter taste of green tea can help you optimize your camera settings by considering how different environmental factors affect lighting conditions. To achieve optimal results, consider adjusting your exposure settings based on the ambient lighting levels at the scene. Recognizing how lighting conditions vary throughout the day can further assist in setting the appropriate exposure for consistent clarity. Moreover, being aware of creative storytelling techniques can inspire you to position your dash cam effectively for the best footage.
Use HDR Mode
HDR (High Dynamic Range) mode helps your dash cam capture clearer footage in challenging lighting conditions by balancing exposure across bright and dark areas. Activating HDR mode, especially in night mode, ensures details like license plates remain visible despite glare or shadows. It’s particularly effective when facing contrasting lighting, such as sunrise, sunset, or tunnels. Using HDR mode improves overall readability of plates at a distance, making it easier to identify vehicles. Keep in mind, some dash cams automatically switch to HDR or night mode when low light is detected. Adjusting this setting enhances clarity without overexposing bright spots or losing detail in shadows. Incorporating proper exposure adjustments can further improve plate readability in diverse scenarios. Understanding these settings can significantly impact the quality of your footage and your ability to identify important details. Enhancing your dash cam’s settings with optimal exposure controls can help you achieve sharper, more reliable recordings regardless of lighting conditions, especially when combined with night vision technology.
Optimize ISO Settings
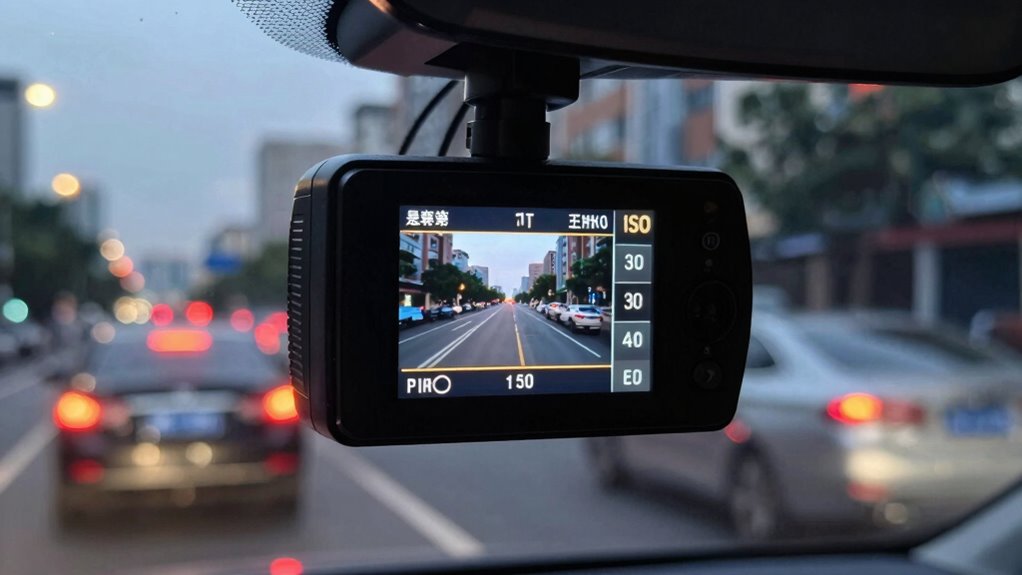
Optimizing the ISO setting on your dash cam is essential for capturing clear footage in varying lighting conditions. Higher ISO increases sensor sensitivity, making plates more readable in low light, but too high can introduce noise. To get it right, consider your camera placement, ensuring it’s positioned for ideal lighting and minimal glare. When adjusting ISO, keep legal considerations in mind—avoiding settings that produce grainy footage might help with admissibility. Additionally, understanding how sensor sensitivity interacts with other exposure settings can improve overall image quality. Here are key tips:
- Start with a low ISO in bright conditions and increase gradually for night driving.
- Use manual ISO settings if available, avoiding auto mode that may overexpose or underexpose.
- Test different ISO levels during day and night to find the best balance.
- Consider the overall exposure and complement ISO adjustments with shutter speed and aperture.
- Remember that environmental considerations like lighting conditions can significantly impact the effectiveness of your ISO adjustments.
- Being aware of sensor technology can help you choose the right settings for your specific dash cam model.
Choosing the Best Frame Rate and Shutter Speed for License Plates
Choosing the right frame rate and shutter speed is essential for capturing clear license plates. Higher frame rates can improve motion clarity, but may require adjustments in shutter speed to prevent blur. Finding the right balance guarantees you get sharp images without sacrificing smoothness or losing important details.
Optimal Frame Rate Settings
To reliably capture license plates, selecting the right frame rate and shutter speed is essential. A higher frame rate ensures smoother footage and reduces motion blur, especially when vehicles move quickly. Proper sensor calibration helps your dash cam accurately interpret light, while a stable power supply prevents fluctuations that could affect recording quality. Additionally, understanding the Who Makes popular dash cam models can help you choose devices with better low-light and motion detection capabilities. Consider these key points: 1. Use at least 30 fps to clearly record moving plates. 2. Maintain a shutter speed that balances motion clarity without causing flicker. 3. Ensure your sensor calibration is optimized for your specific lighting conditions. 4. Verify your power supply is consistent to avoid frame drops or noise.
Shutter Speed Impact
Shutter speed plays a critical role in capturing clear images of license plates, especially when vehicles are moving quickly. A faster shutter speed reduces motion blur, ensuring the plate remains sharp even at high speeds. If your shutter is too slow, you’ll notice blurry plates that are unreadable. Proper lens calibration is essential to maximize sharpness and minimize distortions, helping your dash cam accurately focus on license plates. Keep in mind, a shutter speed that’s too fast may introduce noise or underexpose the image, so balancing it with your aperture and ISO settings is fundamental. By adjusting shutter speed appropriately, you’ll improve your chances of capturing crisp, legible license plates in various lighting and motion conditions.
Balancing Clarity and Motion
Finding the right balance between frame rate and shutter speed is essential for capturing clear license plates without motion blur. Higher frame rates help freeze motion, but may require adjustments based on camera angles and weather conditions. For example, in bright daylight, you can use faster shutter speeds and higher frame rates, ensuring plates are sharp even at sharp angles. Conversely, in rainy or foggy weather, slower shutter speeds may help gather more light but risk blurring fast-moving plates. Consider these tips:
- Use at least 30 fps for general clarity.
- Adjust shutter speed to match vehicle speed and lighting.
- Increase frame rate for wide camera angles.
- Lower shutter speed during poor weather for better exposure.
- Proper camera settings are crucial for optimizing plate readability across different conditions.
Setting Focus and Autofocus for Sharp Plates

Achieving sharp license plate images with your 4K dash cam requires careful adjustment of focus and autofocus settings. Start with focus calibration to ensure your camera is properly aligned for ideal clarity. Use autofocus techniques that prioritize central focus points or manual focus if available, especially when capturing distant plates. Adjust your camera’s focus mode to continuous autofocus (AF-C) for moving vehicles, but switch to single-shot autofocus (AF-S) when stationary or focusing on a specific plate. Regularly test and fine-tune these settings to prevent blurriness. Remember, consistent focus calibration helps your dash cam lock onto plates quickly and accurately, ensuring readable footage even in challenging conditions. Proper focus and autofocus adjustments are key to capturing readable license plates in your 4K footage. focus calibration is a crucial step in optimizing your dash cam’s performance for clear, legible recordings, especially by understanding how autofocus modes affect image sharpness and how camera settings influence overall image quality.
Enabling and Optimizing Image Stabilization for Clear Footage
To guarantee your 4K dash cam captures steady, clear footage, enabling and maximizing image stabilization is essential. Proper stabilization improves nighttime visibility and reduces motion blur, making license plates easier to read. To enhance stabilization:
- Enable the built-in stabilization feature in your dash cam settings.
- Use a mounting bracket that minimizes vibrations and shocks.
- Adjust sensitivity settings to balance stabilization and responsiveness.
- Ensure your camera’s firmware is up to date for optimal performance.
These steps help reduce glare and camera shake, especially in challenging lighting conditions. By fine-tuning image stabilization, you’ll achieve clearer footage that improves plate readability and overall video quality, regardless of road conditions or lighting.
White Balance and ISO Tips for Day and Night Clarity
To get the clearest footage, you need to set your white balance correctly for different lighting conditions. Adjusting ISO settings at night helps reduce grain and improve image quality in low light. Mastering these tips guarantees your dash cam captures sharp, clear videos day and night.
Adjust White Balance Properly
Have you ever noticed how your dash cam’s footage looks washed out during the day or too dark at night? Adjusting the white balance is essential for proper color calibration and clarity. To do this effectively:
- Set the white balance to daylight for bright conditions and switch to tungsten or auto at night.
- Use manual white balance if your camera offers it, allowing you to fine-tune color accuracy.
- Avoid auto white balance in changing lighting to prevent color shifts.
- Test different settings to find the most natural and readable image, especially for license plates and street signs.
Proper white balance guarantees your footage accurately reflects real-world colors, making plates more readable and details clearer in both daytime and nighttime conditions.
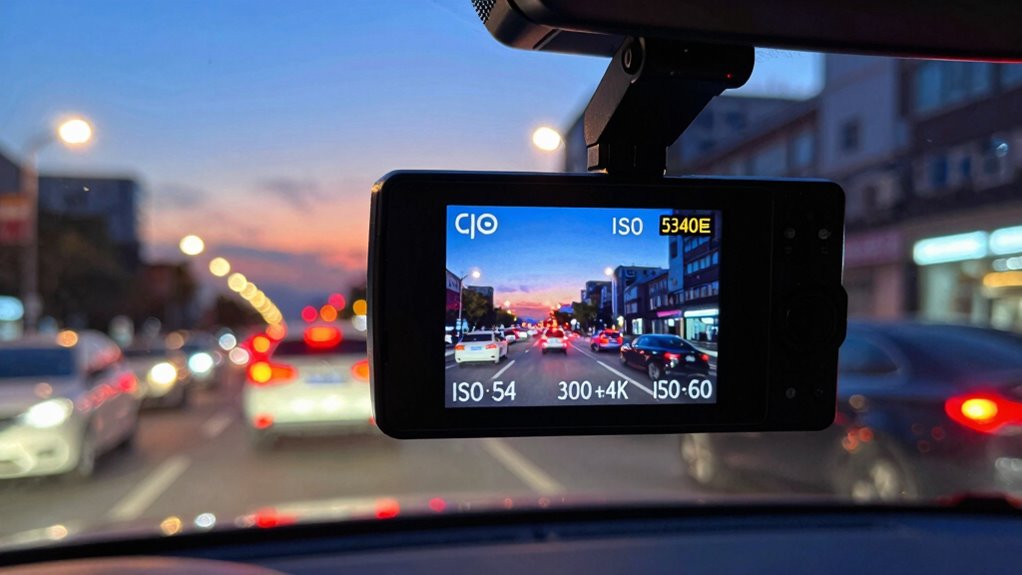
Optimize ISO Settings at Night
Adjusting ISO settings at night is essential for capturing clear, detailed footage without excessive grain. When you increase ISO, your dash cam enhances its night vision and low light performance, making plates and surroundings more readable. However, too high an ISO introduces noise, reducing clarity. Find a balance by setting your ISO to the lowest level that still captures enough light for visibility. If your dash cam allows, enable automatic ISO adjustment so it adapts to changing lighting conditions. During very dark conditions, manually increasing ISO slightly can improve footage, but avoid going too high. Proper ISO settings help your dash cam produce sharper, more reliable recordings at night, ensuring critical details are preserved without sacrificing image quality.
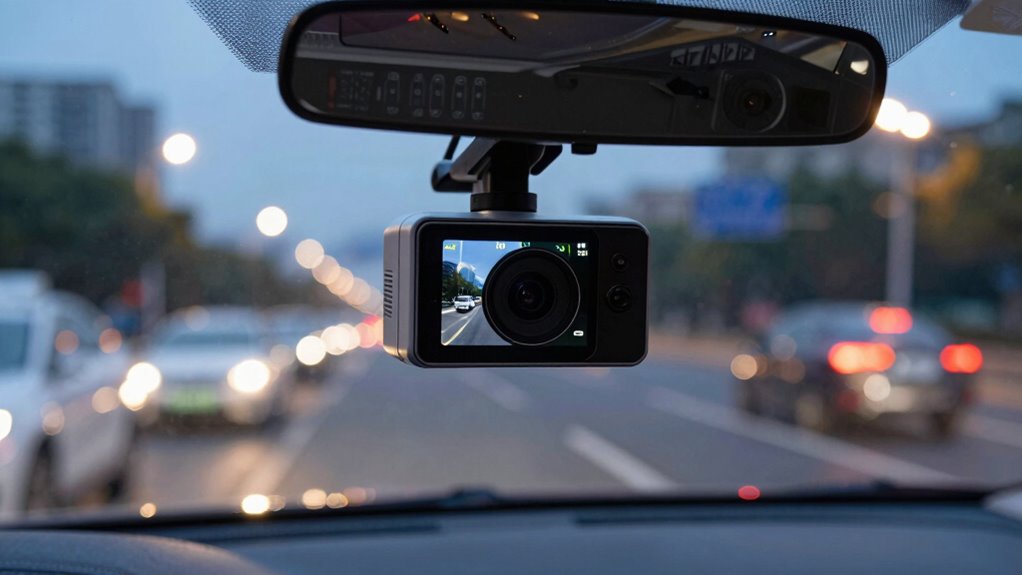
How to Position Your Dash Cam for the Best License Plate Capture
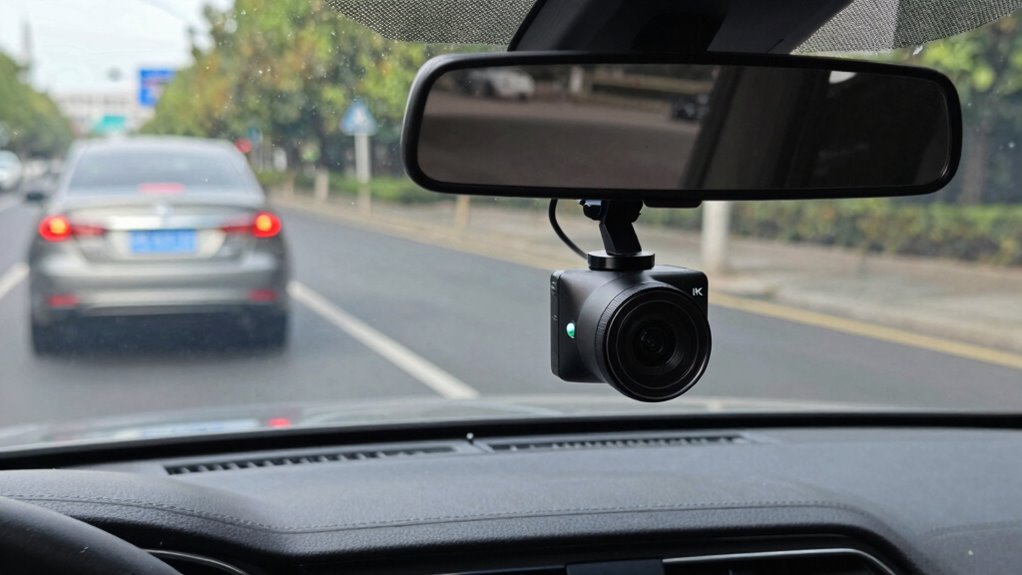
Positioning your dash cam correctly is essential for capturing clear license plate images. Proper camera placement guarantees that plates are readable even at a distance or in varying lighting conditions. To optimize this:
Proper dash cam positioning ensures clear, readable license plates in all conditions.
- Mount the camera slightly below the rearview mirror for a clear, unobstructed view.
- Adjust the angle so the lens points toward the lane where vehicles pass closest to your vehicle.
- Use angle adjustment to minimize glare and reflections, especially at night.
- Ensure the camera face is stable and fixed, avoiding vibrations that could blur images.
Common Mistakes That Make License Plates Hard to Read (and How to Avoid Them)

One common mistake that makes license plates hard to read is having the dash cam misaligned or poorly angled, which can cause the plates to be blurry or partially obscured. Improper camera mounting often leads to this issue, especially if the angle catches license plates at a steep or awkward tilt. Additionally, license plate glare from sunlight or reflections can wash out details, making plates unreadable. To avoid these mistakes, guarantee your dash cam is securely mounted with a clear, direct view of the license plate area. Adjust the angle to minimize glare and reflections, and avoid mounting in positions that cause sunlight to hit the lens directly. Proper camera mounting and angle adjustments help capture sharp, legible license plates in various lighting conditions.
How to Test and Fine-Tune Your Dash Cam Settings for Readability
To make certain your dash cam captures clear, readable license plates, it’s essential to test and fine-tune its settings regularly. Start by adjusting camera placement to ensure the lens faces the license plates directly, minimizing glare and obstructions. Next, evaluate lighting conditions by recording during different times of day—adjust brightness and contrast accordingly. Then, review footage to identify blurry or unreadable plates, tweaking focus and exposure settings as needed. Finally, test in varying weather conditions to confirm visibility remains clear.
- Optimize camera angle and placement
- Adjust exposure and brightness for lighting changes
- Monitor focus and sharpness regularly
- Test under different lighting and weather scenarios
Additional Accessories and Tips to Improve License Plate Clarity
Enhancing license plate clarity often involves using specialized accessories that complement your dash cam’s capabilities. One effective tip is adjusting dash cam placement to optimize license plate visibility. Mount your camera at a slight angle to capture plates more directly, reducing glare and motion blur. Consider using anti-glare filters or lens hoods to minimize reflections that obscure details. Additional accessories like external lighting or infrared LEDs can also improve night-time visibility of plates. Keeping your camera clean and ensuring a stable, unobstructed view helps maintain clarity. Regularly check and adjust your dash cam’s position, especially after rough driving conditions. By combining proper placement with these accessories, you considerably improve the chances of capturing clear, readable license plates in various conditions.
Frequently Asked Questions
What Is the Best Dash Cam Placement for License Plate Clarity?
You should mount your dash cam at a low angle, close to the windshield, to optimize the angle and improve license plate clarity. Use proper mounting techniques, like secure suction cups or adhesive mounts, to reduce vibrations and reflections. Position the camera straight ahead, avoiding glare and obstructions, so it captures clear, readable plates even at night. Regularly check and adjust the placement for the best results.
How Does Weather Affect License Plate Readability in 4K Footage?
Did you know that rain or fog can reduce license plate visibility by up to 60%? Weather considerably impacts your dash cam’s ability to capture clear images, especially in challenging conditions like snow, rain, or fog. To combat this, make certain your camera’s sensor sensitivity is optimized and keep the lens clean. Adjusting settings for low-light or adverse weather conditions helps maintain license plate clarity, even when weather tries to obscure the view.
Can Aftermarket Lenses Improve License Plate Capture Quality?
Yes, aftermarket lenses can improve license plate capture quality. Lens enhancement features, like sharper optics and better light transmission, help make plates clearer. Additionally, image stabilization reduces motion blur, especially at high speeds or rough roads, ensuring clearer footage. By upgrading your lens, you get crisper images and more readable plates, even in challenging conditions. Just choose a quality aftermarket lens designed for your dash cam to maximize these benefits.
What Legal Considerations Exist for Recording License Plates?
While recording license plates can be useful, you should be mindful of privacy laws and recording permissions. Always make certain you’re compliant with local regulations, as some areas restrict capturing identifiable information without consent. Avoid invasive practices and respect others’ privacy rights. Staying informed about legal boundaries helps you avoid potential issues and ensures your camera use remains lawful. Remember, responsible recording balances safety with respect for privacy.
How Often Should I Calibrate or Update My Dash Cam Settings?
You should calibrate or update your dash cam settings regularly, ideally every few months, to guarantee peak performance. Keep up with camera maintenance by cleaning the lens and checking for firmware updates, which often include improvements for plate readability. Regular calibration helps maintain accurate recordings, especially as lighting or weather conditions change. Staying current with updates also ensures your device functions correctly and captures clear, readable license plates.
Conclusion
To get clear license plates, focus on choosing high resolution, adjusting exposure, and setting the right frame rate. position your dash cam properly, test your settings regularly, and avoid common mistakes. By optimizing focus, stabilizing footage, and using helpful accessories, you enhance readability. Remember, consistent tuning and careful placement are key. With these steps, you’ll capture sharp, legible license plates every time, ensuring your dash cam works when it matters most.